Trip Report: Backpacking the Pawnee-Buchanan Pass Loop in Indian Peaks Wilderness
The Pawnee & Buchanan Pass Loop (Otherwise Known as the Double Bypass Loop)
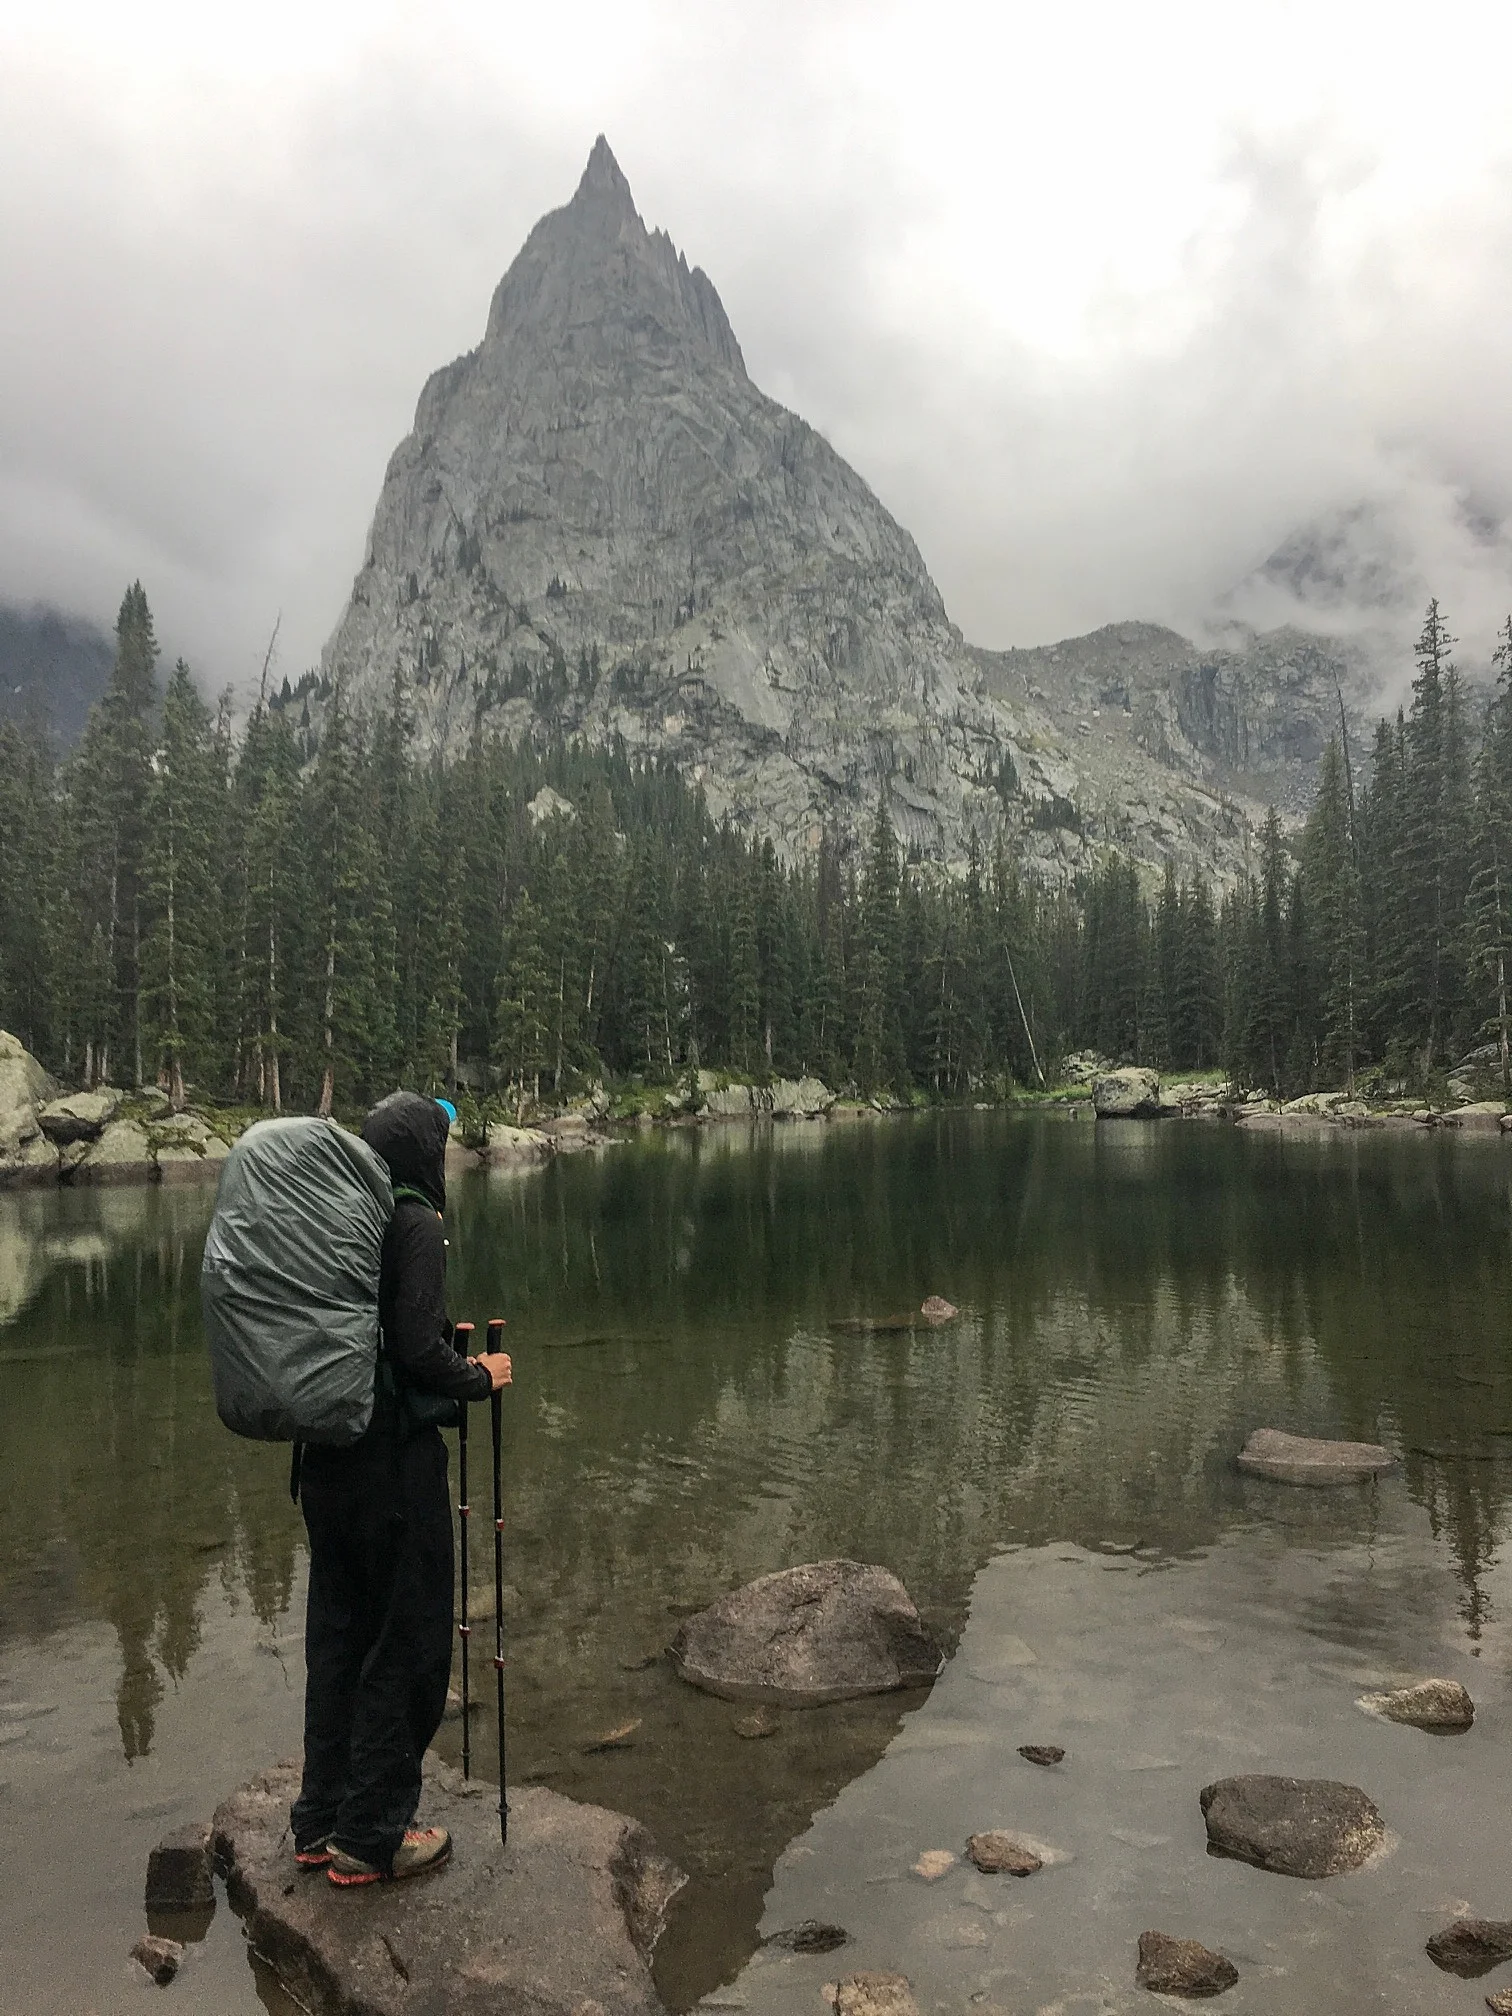
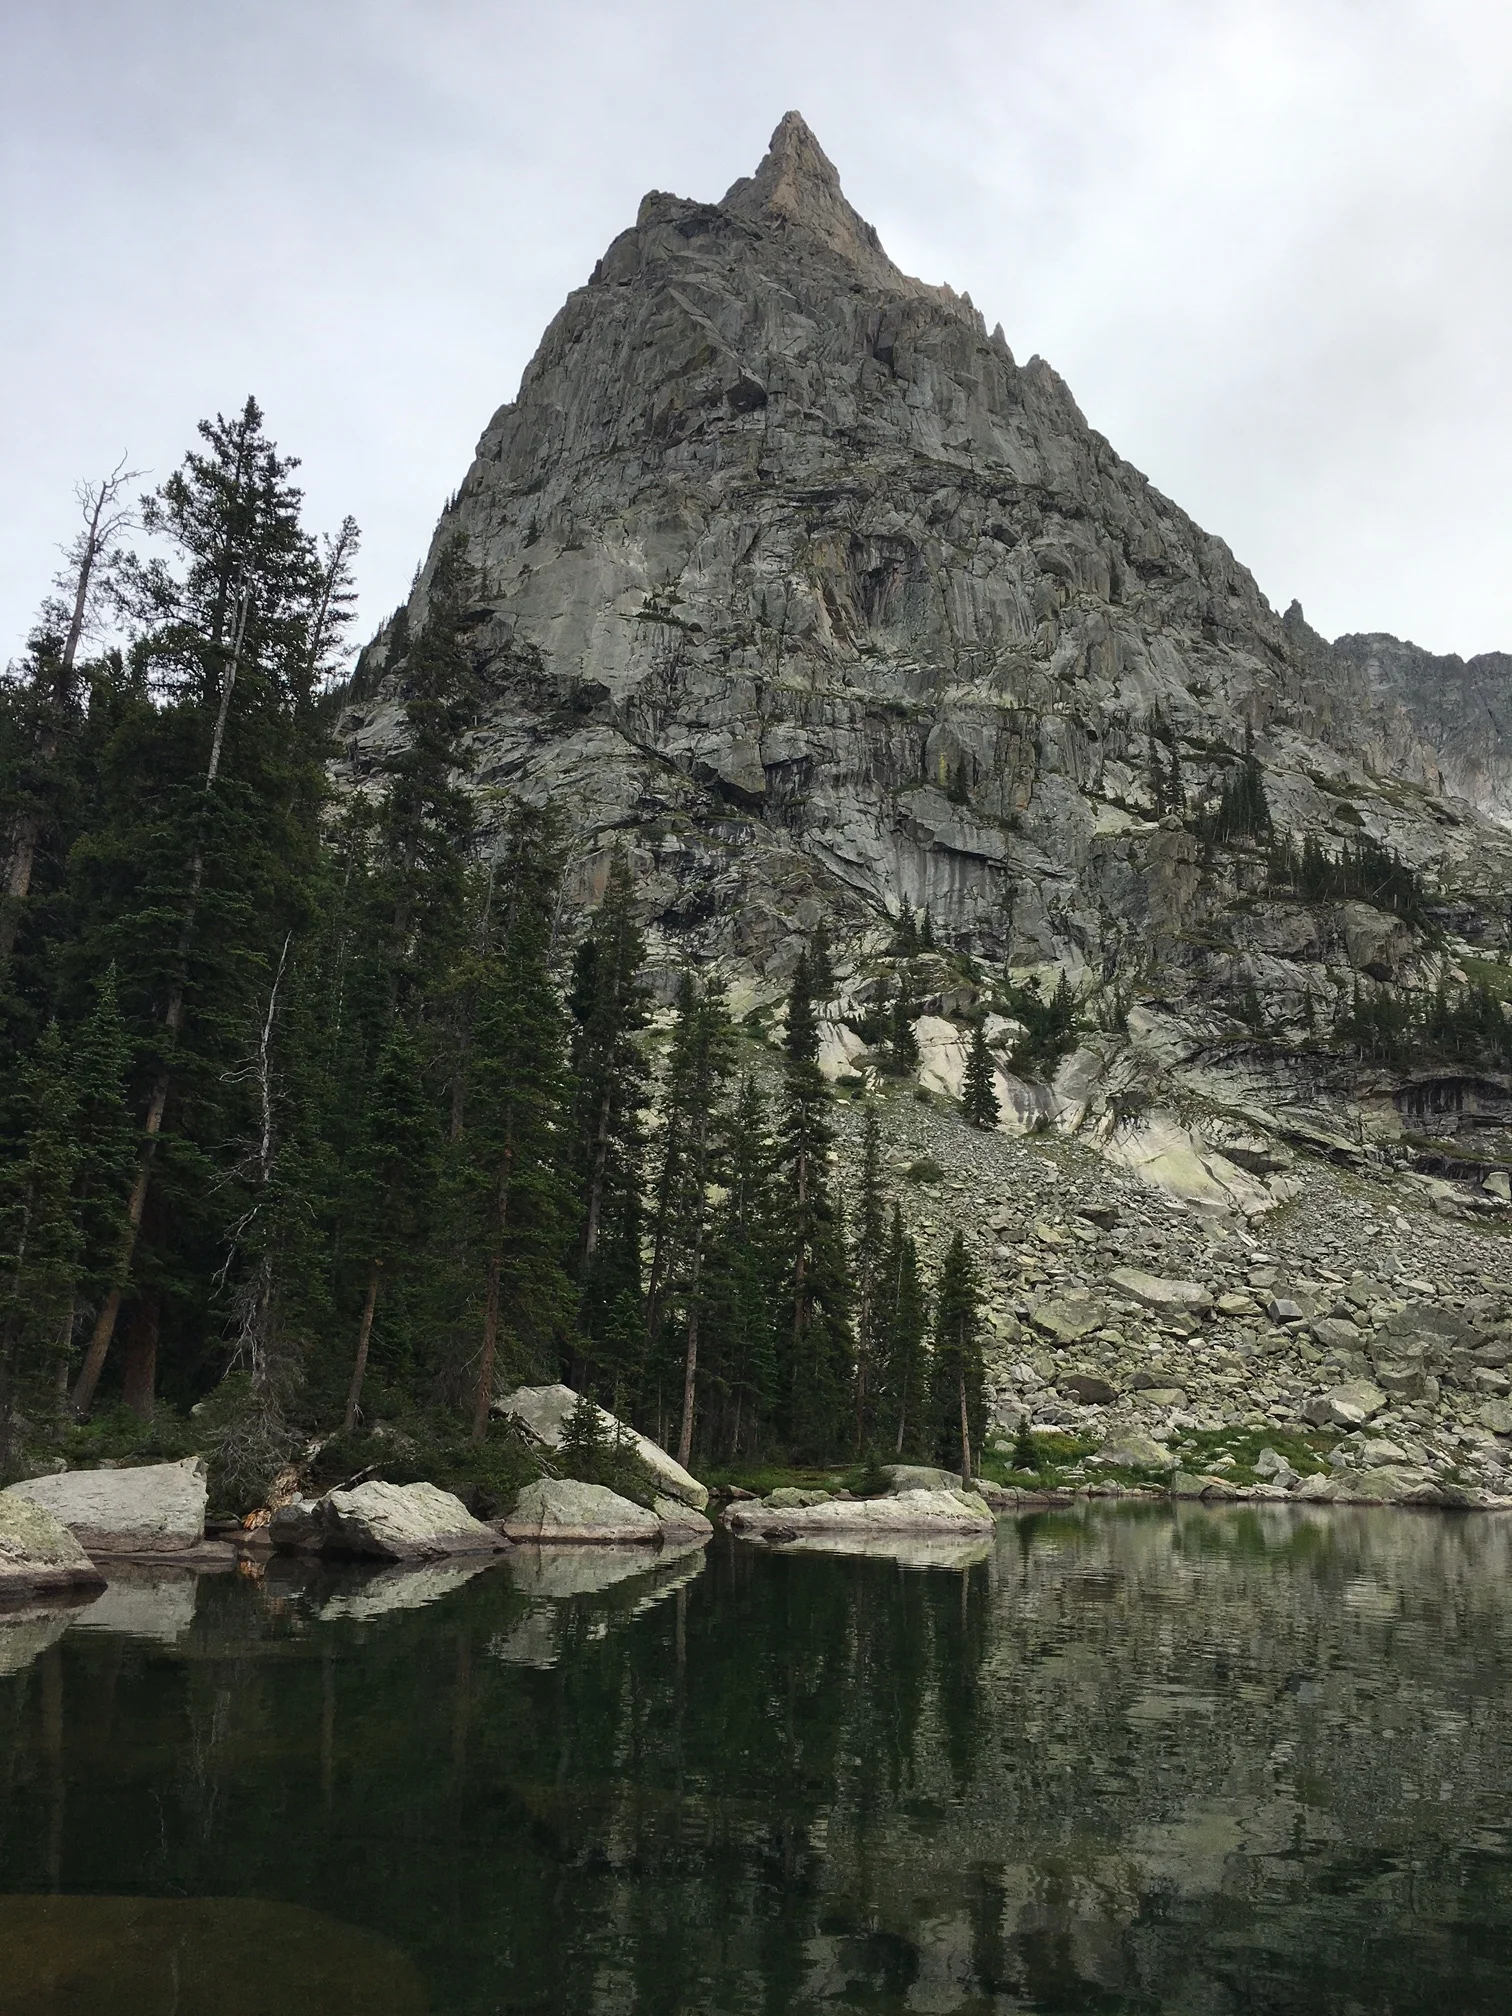
The view of Lone Eagle Peak is a quintessential vista in Indian Peaks Wilderness.
If you’re looking for a long weekend backpacking trip that boasts incredible views within an hour’s drive of Boulder, look no further. The Pawnee-Buchanan Pass Loop has it all, from stunning mountain vistas, to endless groves of subalpine forest, to wide open meadows, and plenty of alpine lakes and cool rivers.
Below, I cover everything you need to know before you go, including best places to camp along the loop, good times of the year to go, and permit requirements.
Fast Facts:
Mileage: 26-31 miles, depending on how many side excursions you do. My mileage from this trip clocked in at 31 miles car-to-car, but I’ve heard reports of it being 26 miles without any additional excursions.
Days needed to complete the loop: Well, super runner Boulderites regularly run the loop in one day, so I suppose it’s all up to your level of fitness (and willingness to suffer). That said, I did the loop in three full days, two nights, and felt it was the perfect amount of time. Any shorter and I wouldn’t have been able to stop and enjoy the beauty as much!
Elevation gain: Approximately 7,500 feet of net gain. Again, this will vary based on your exact route, but my Strava reported this much total gain.
Best direction in which to do the loop: it doesn’t matter! I backpacked the loop counter-clockwise (going over Buchanan Pass first and Pawnee Pass second), but either way would offer excellent views. The way you end up going will largely depend on what you are able to get for a permit. Speaking of which…
Permit requirements: you are required to have a permit to camp in designated zones in Indian Peaks Wilderness from June 1st - September 15th. Permits are offered on a first-come, first-served basis. You can purchase a $5 permit directly from the Boulder Ranger District (link: https://www.fs.usda.gov/recarea/arp/recarea/?recid=28178) or at the Hardware store in Nederland; call ahead first to see what dates are available. Note: permits for the Crater Lake BZ go very fast; either plan to buy one months in advance of your trip, or plan a trip during the week for a better chance of scoring one.
Trailhead directions: Depending on which direction you go, you’ll start at either the Mitchell Lake Trailhead or Long Lake Trailhead in the Brainard Lake Recreation Area.
Step-By-Step: How to Complete the Loop + Reflections On My Experience
Day One
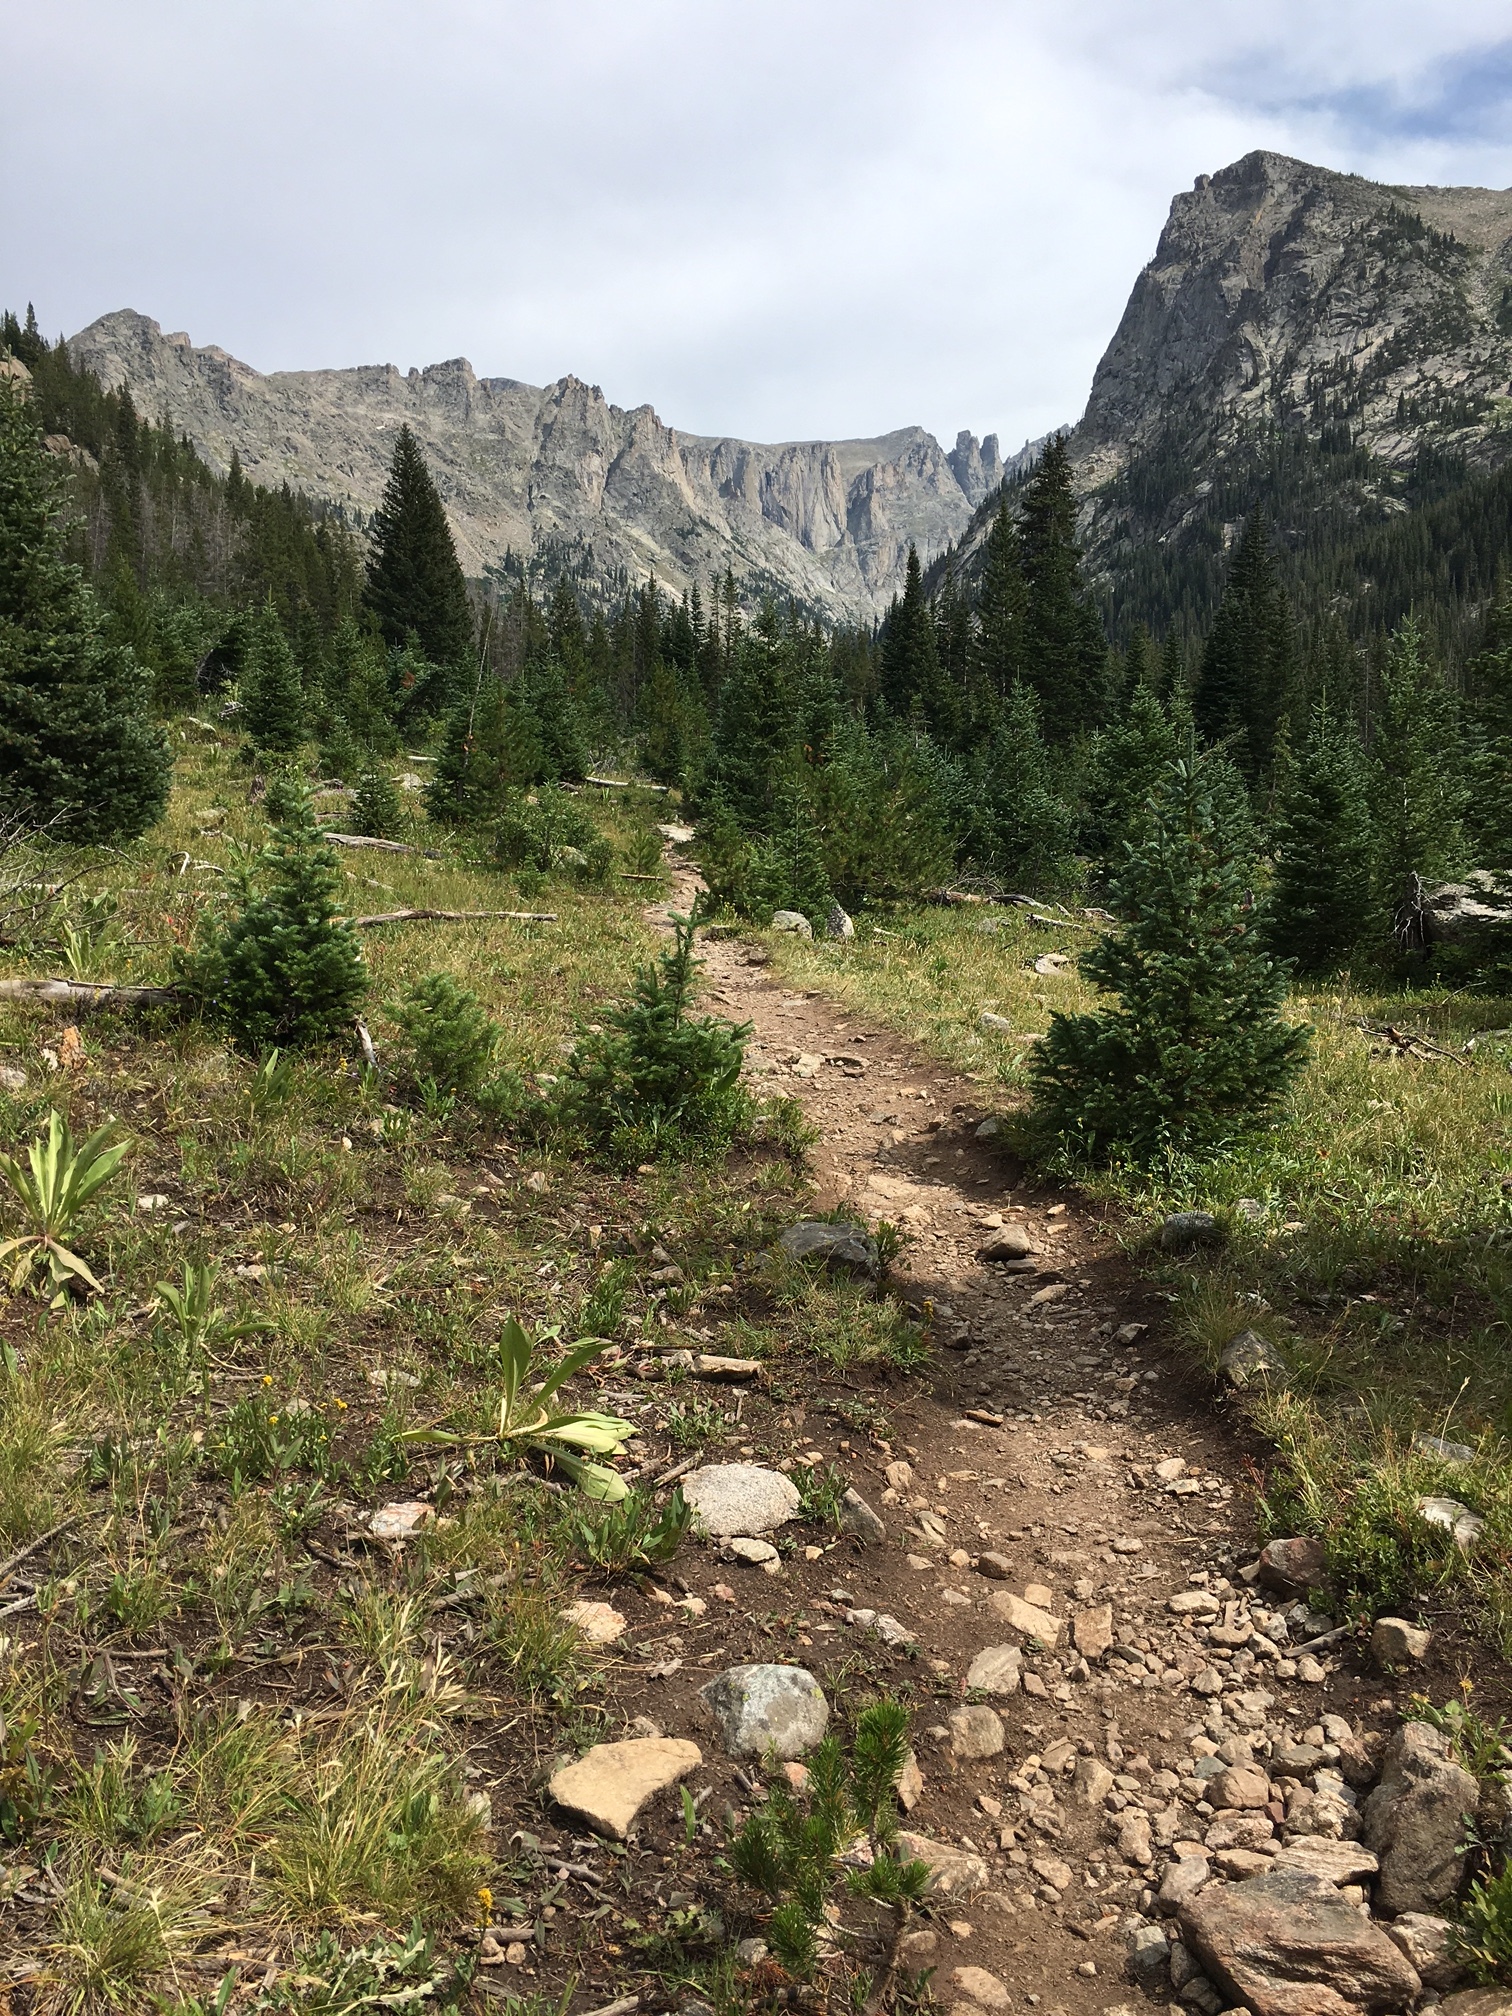
Start at the Mitchell Lake Trailhead. (Again, I did the loop counter-clockwise; you’ll want to start at the Long Lake Trailhead if you’re doing the loop clockwise). Hike up the trail towards Mount Audubon (and enjoy the side views of it!) for 1.6 miles, then go right at the well-marked fork onto the Beaver Creek Trail. You’ll descend for several miles through lush forests; enjoy the gradual downhill while it lasts!
Just a mile from the Mitchell Lake Trailhead, we watched the impending clouds while on the side of Mount Audubon.
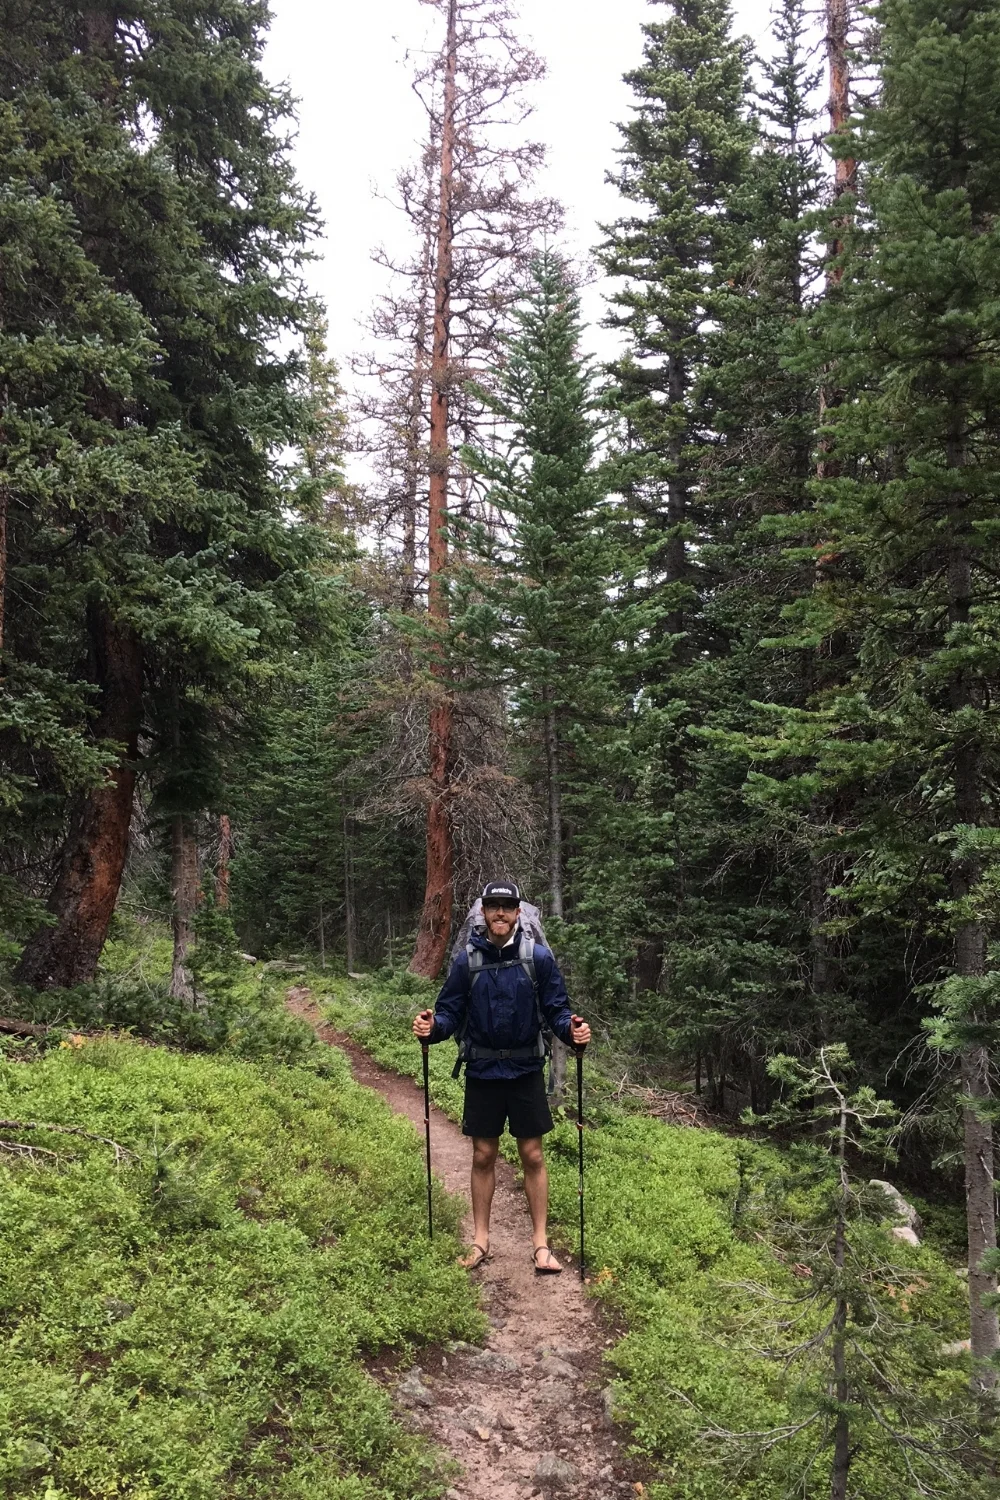
The lust forests and soft trail on the way to Coney Flats Trailhead
You’ll eventually pop out at the Coney Flats Trailhead. From here, go west on the Beaver Creek Trail for a little over 1.6 miles; you’ll come to another fork, at which you’ll keep heading west (straight). You’ll begin to soak up excellent views of your first pass: Buchanan Pass.
Now, ideally, you will keep going over the pass and camp below treeline on the west side of the divide for your first night, but my experience had something else in mind! Unfortunately, the weekend that I did the trip, Colorado was experiencing some very unusual weather patterns. It sprinkled on and off the first couple hours of day one, and ended up absolutely downpouring for hours once I passed the Coney Flats Trailhead. My rain jacket and pants didn’t stand a chance: I ended up getting totally soaked to the bone, and by the time I was just a couple miles below the pass, it would have been much too dangerous to go above treeline and cross such an exposed pass. So, my backpacking partner and I had to make a decision of what to do, and we decided to hunker down for the rest of the day and night and change into dry clothes in order to avoid the risk of hypothermia and potential injury from lightning or from slipping while going up and coming down the pass.
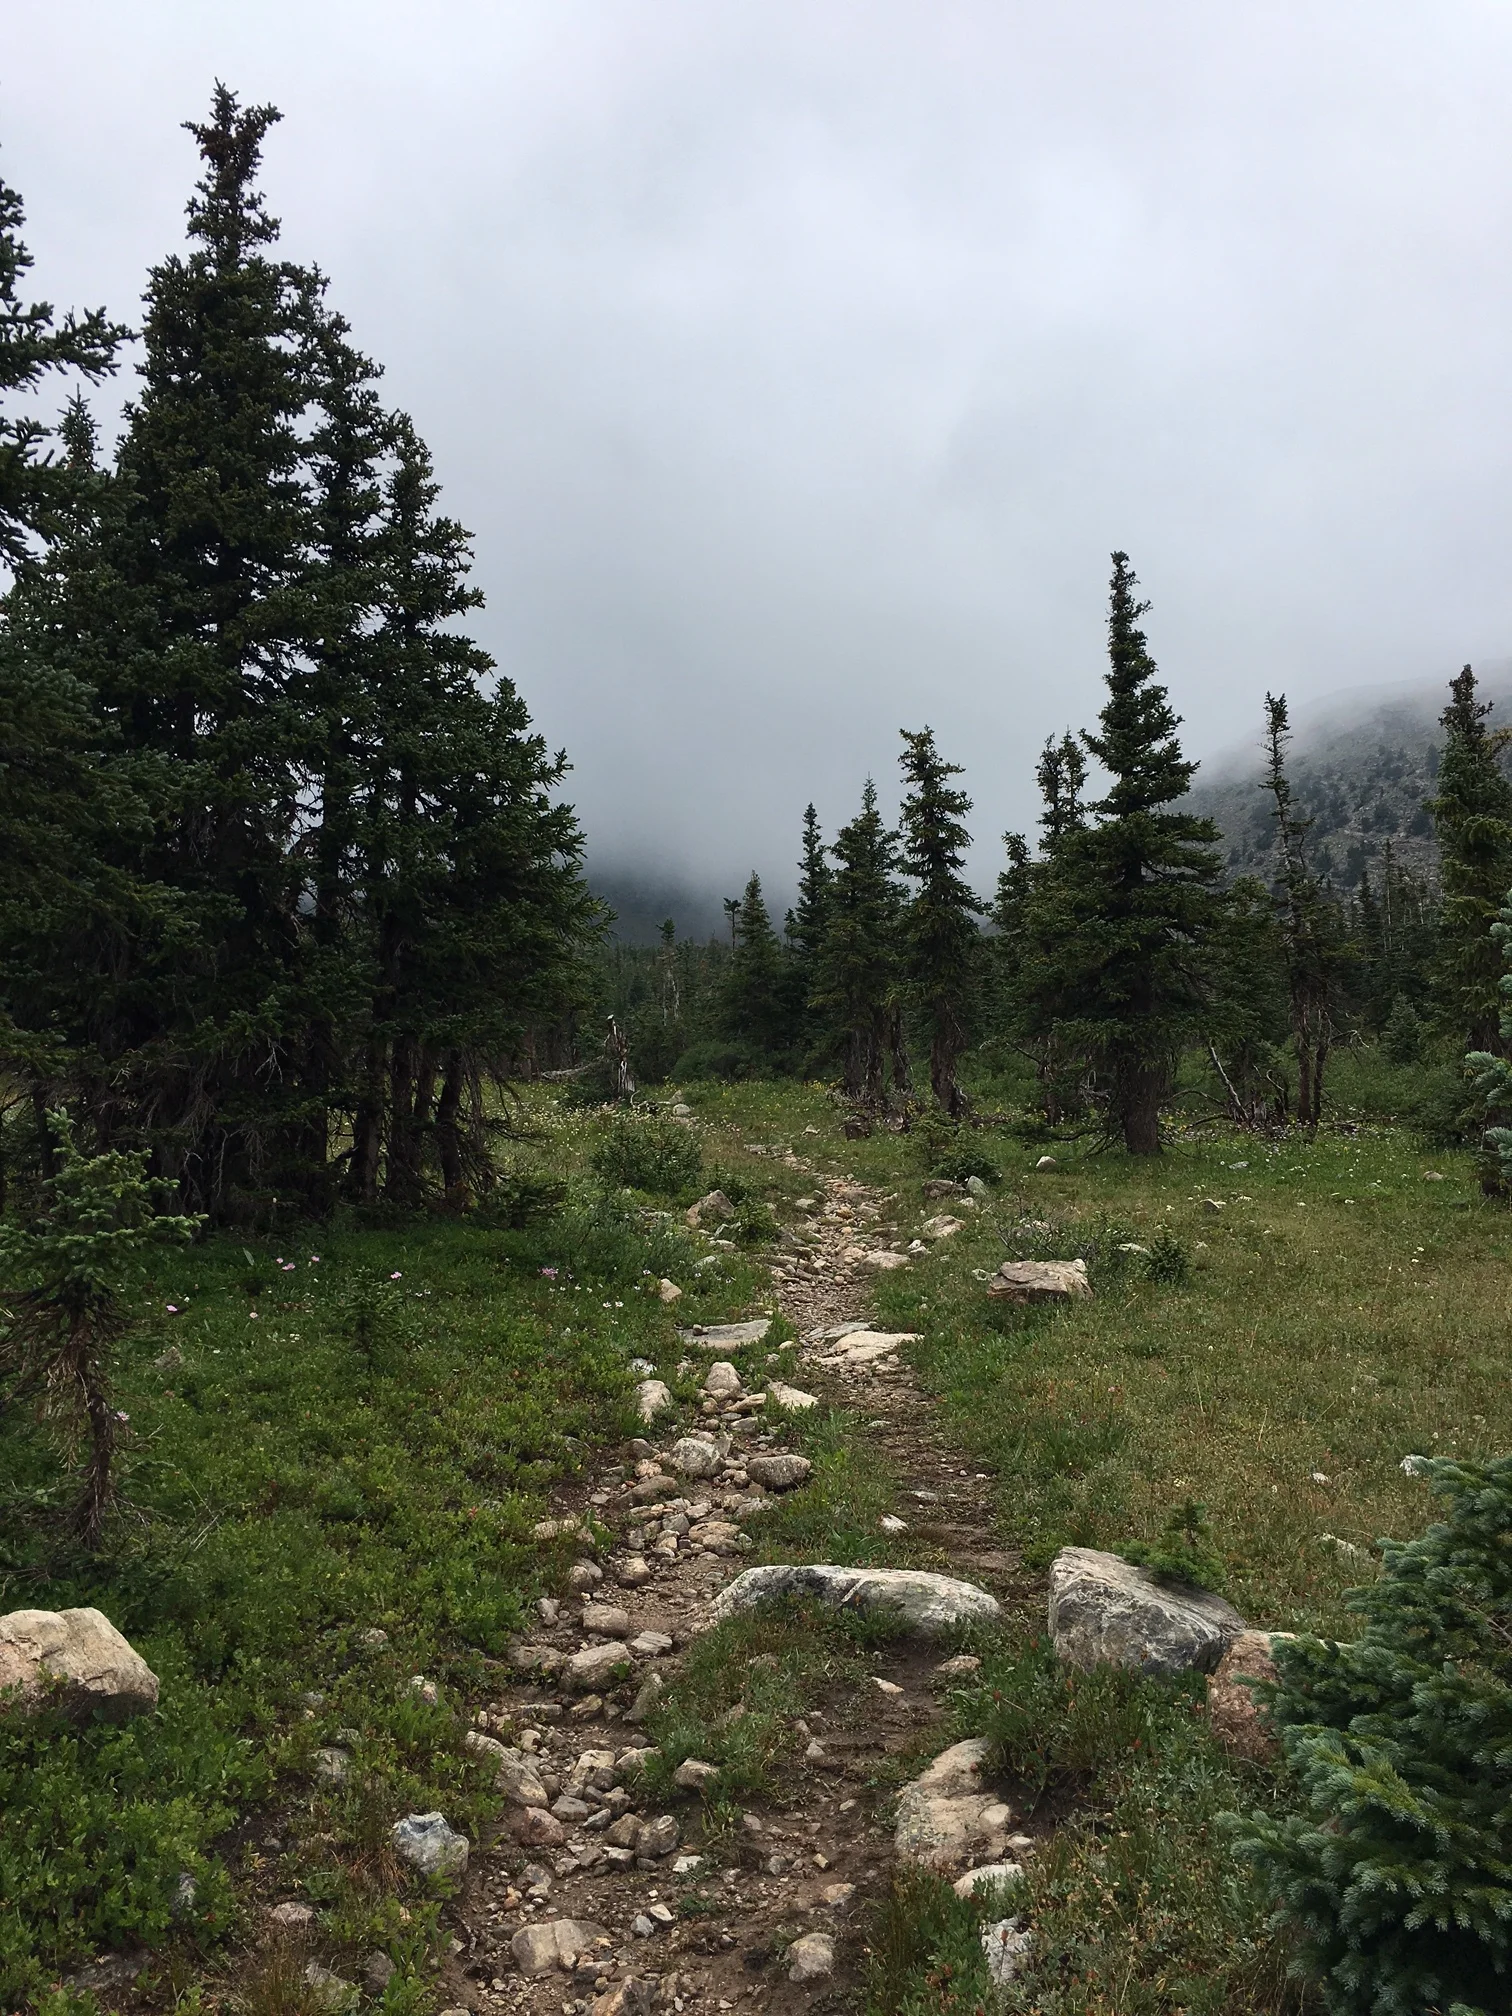
Buchanan Pass socked in.
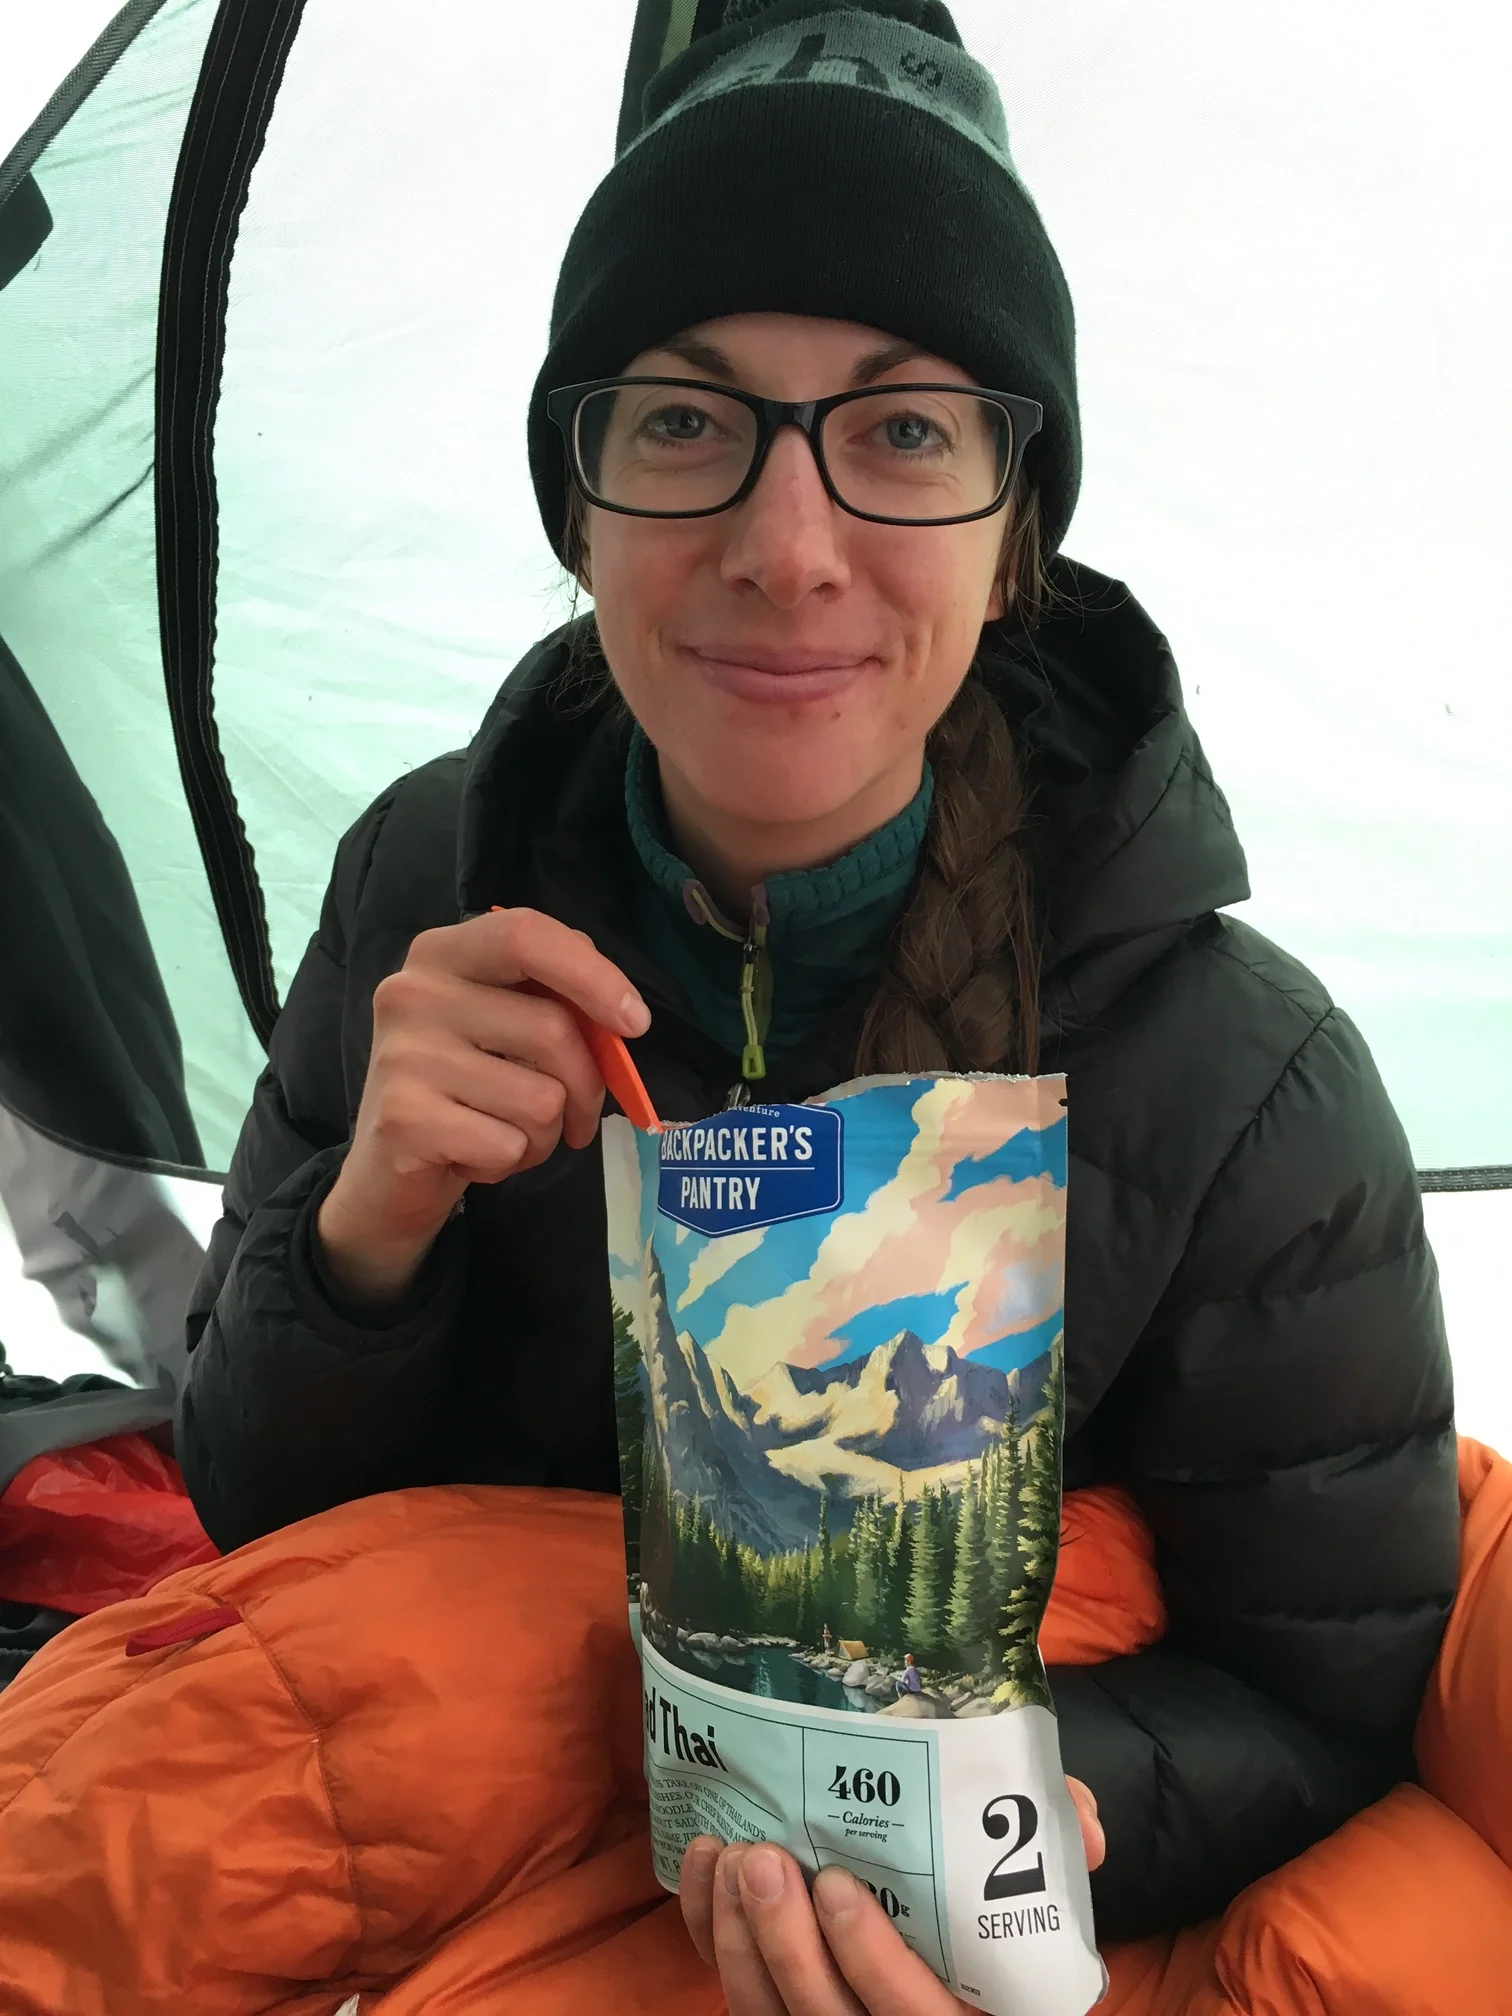
Stormy weather on the pass calls for cozy sleeping bags and Backpacker's Pantry meals in the tent!
Not what we had planned on for the day, but hey - sometimes you have to make snap decisions in the backcountry to mitigate unforeseen risks. And boy am I glad we did: other than a brief window of sunshine (which we used to dry out all of our wet clothes), it continued to lighting, thunder, and rain the rest of the day. That pass did not want us to cross it just yet!
Day Two
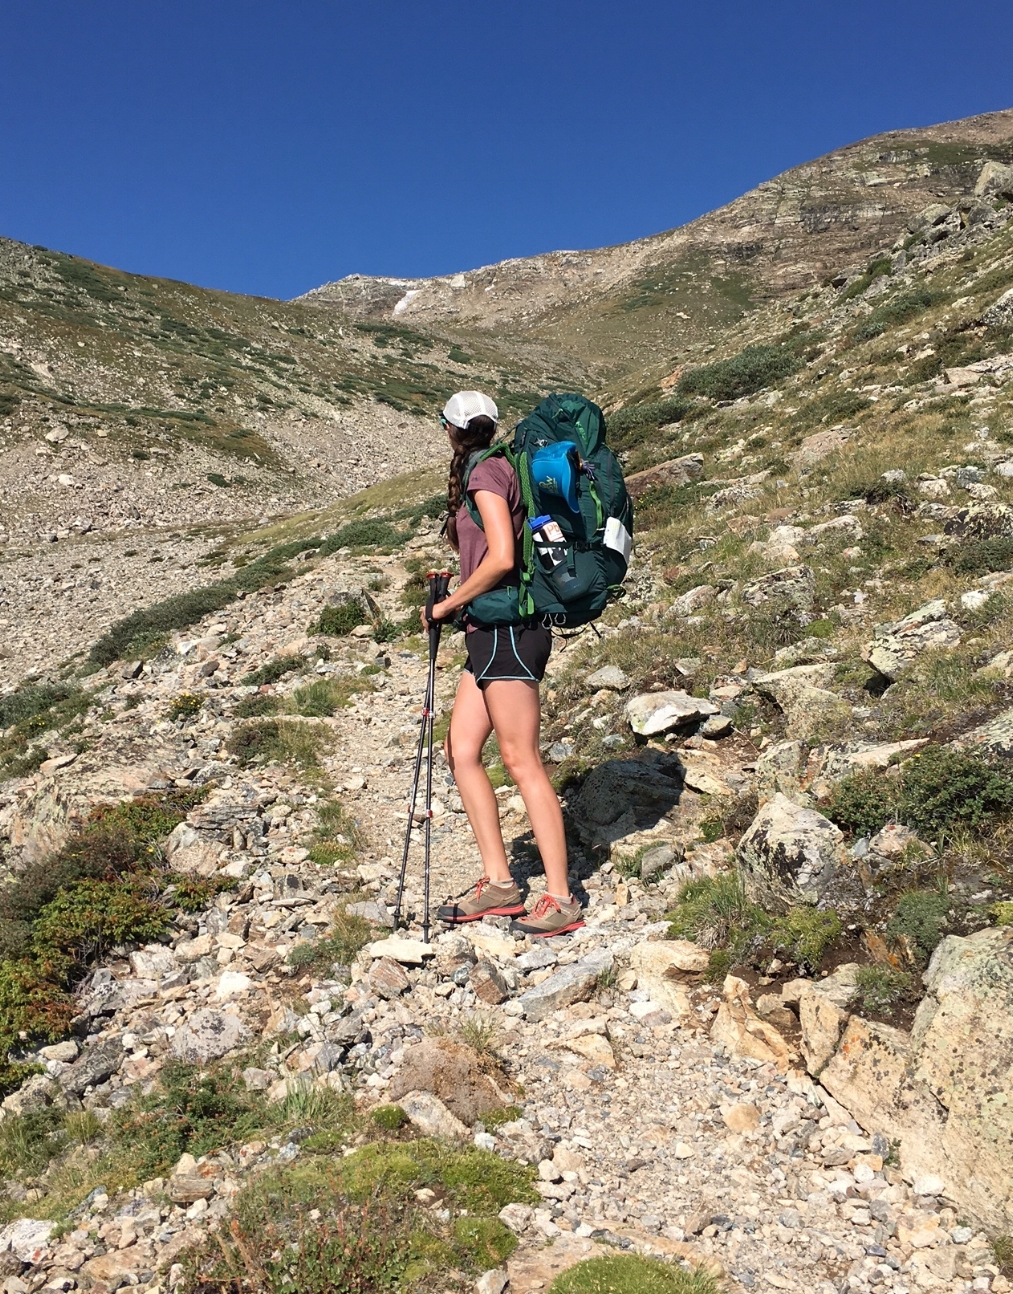
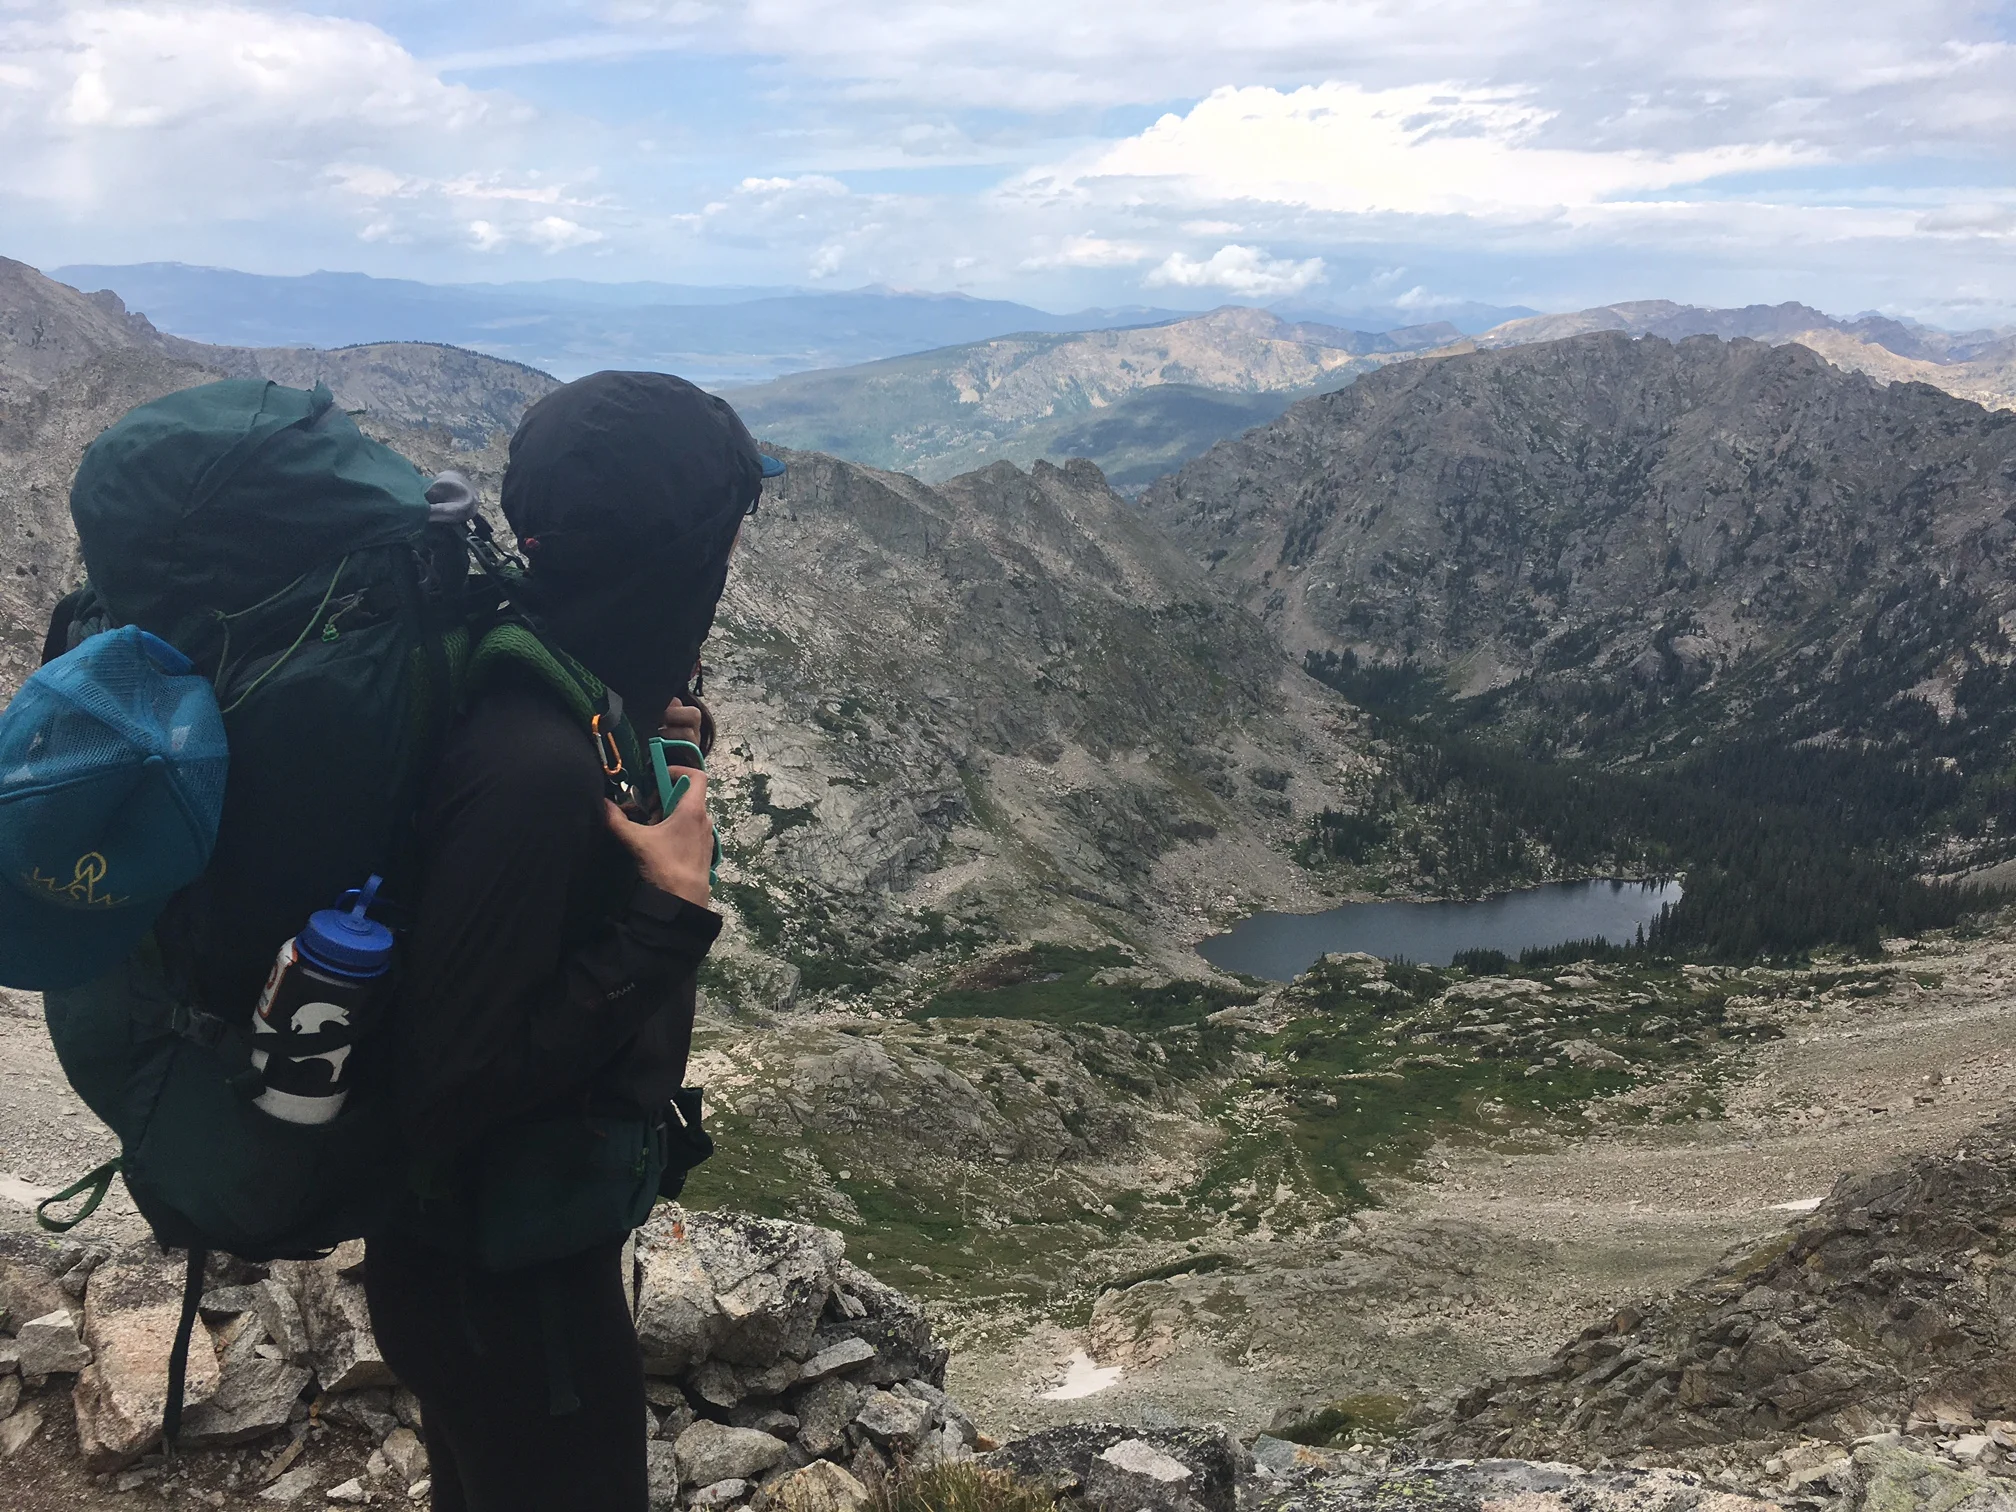
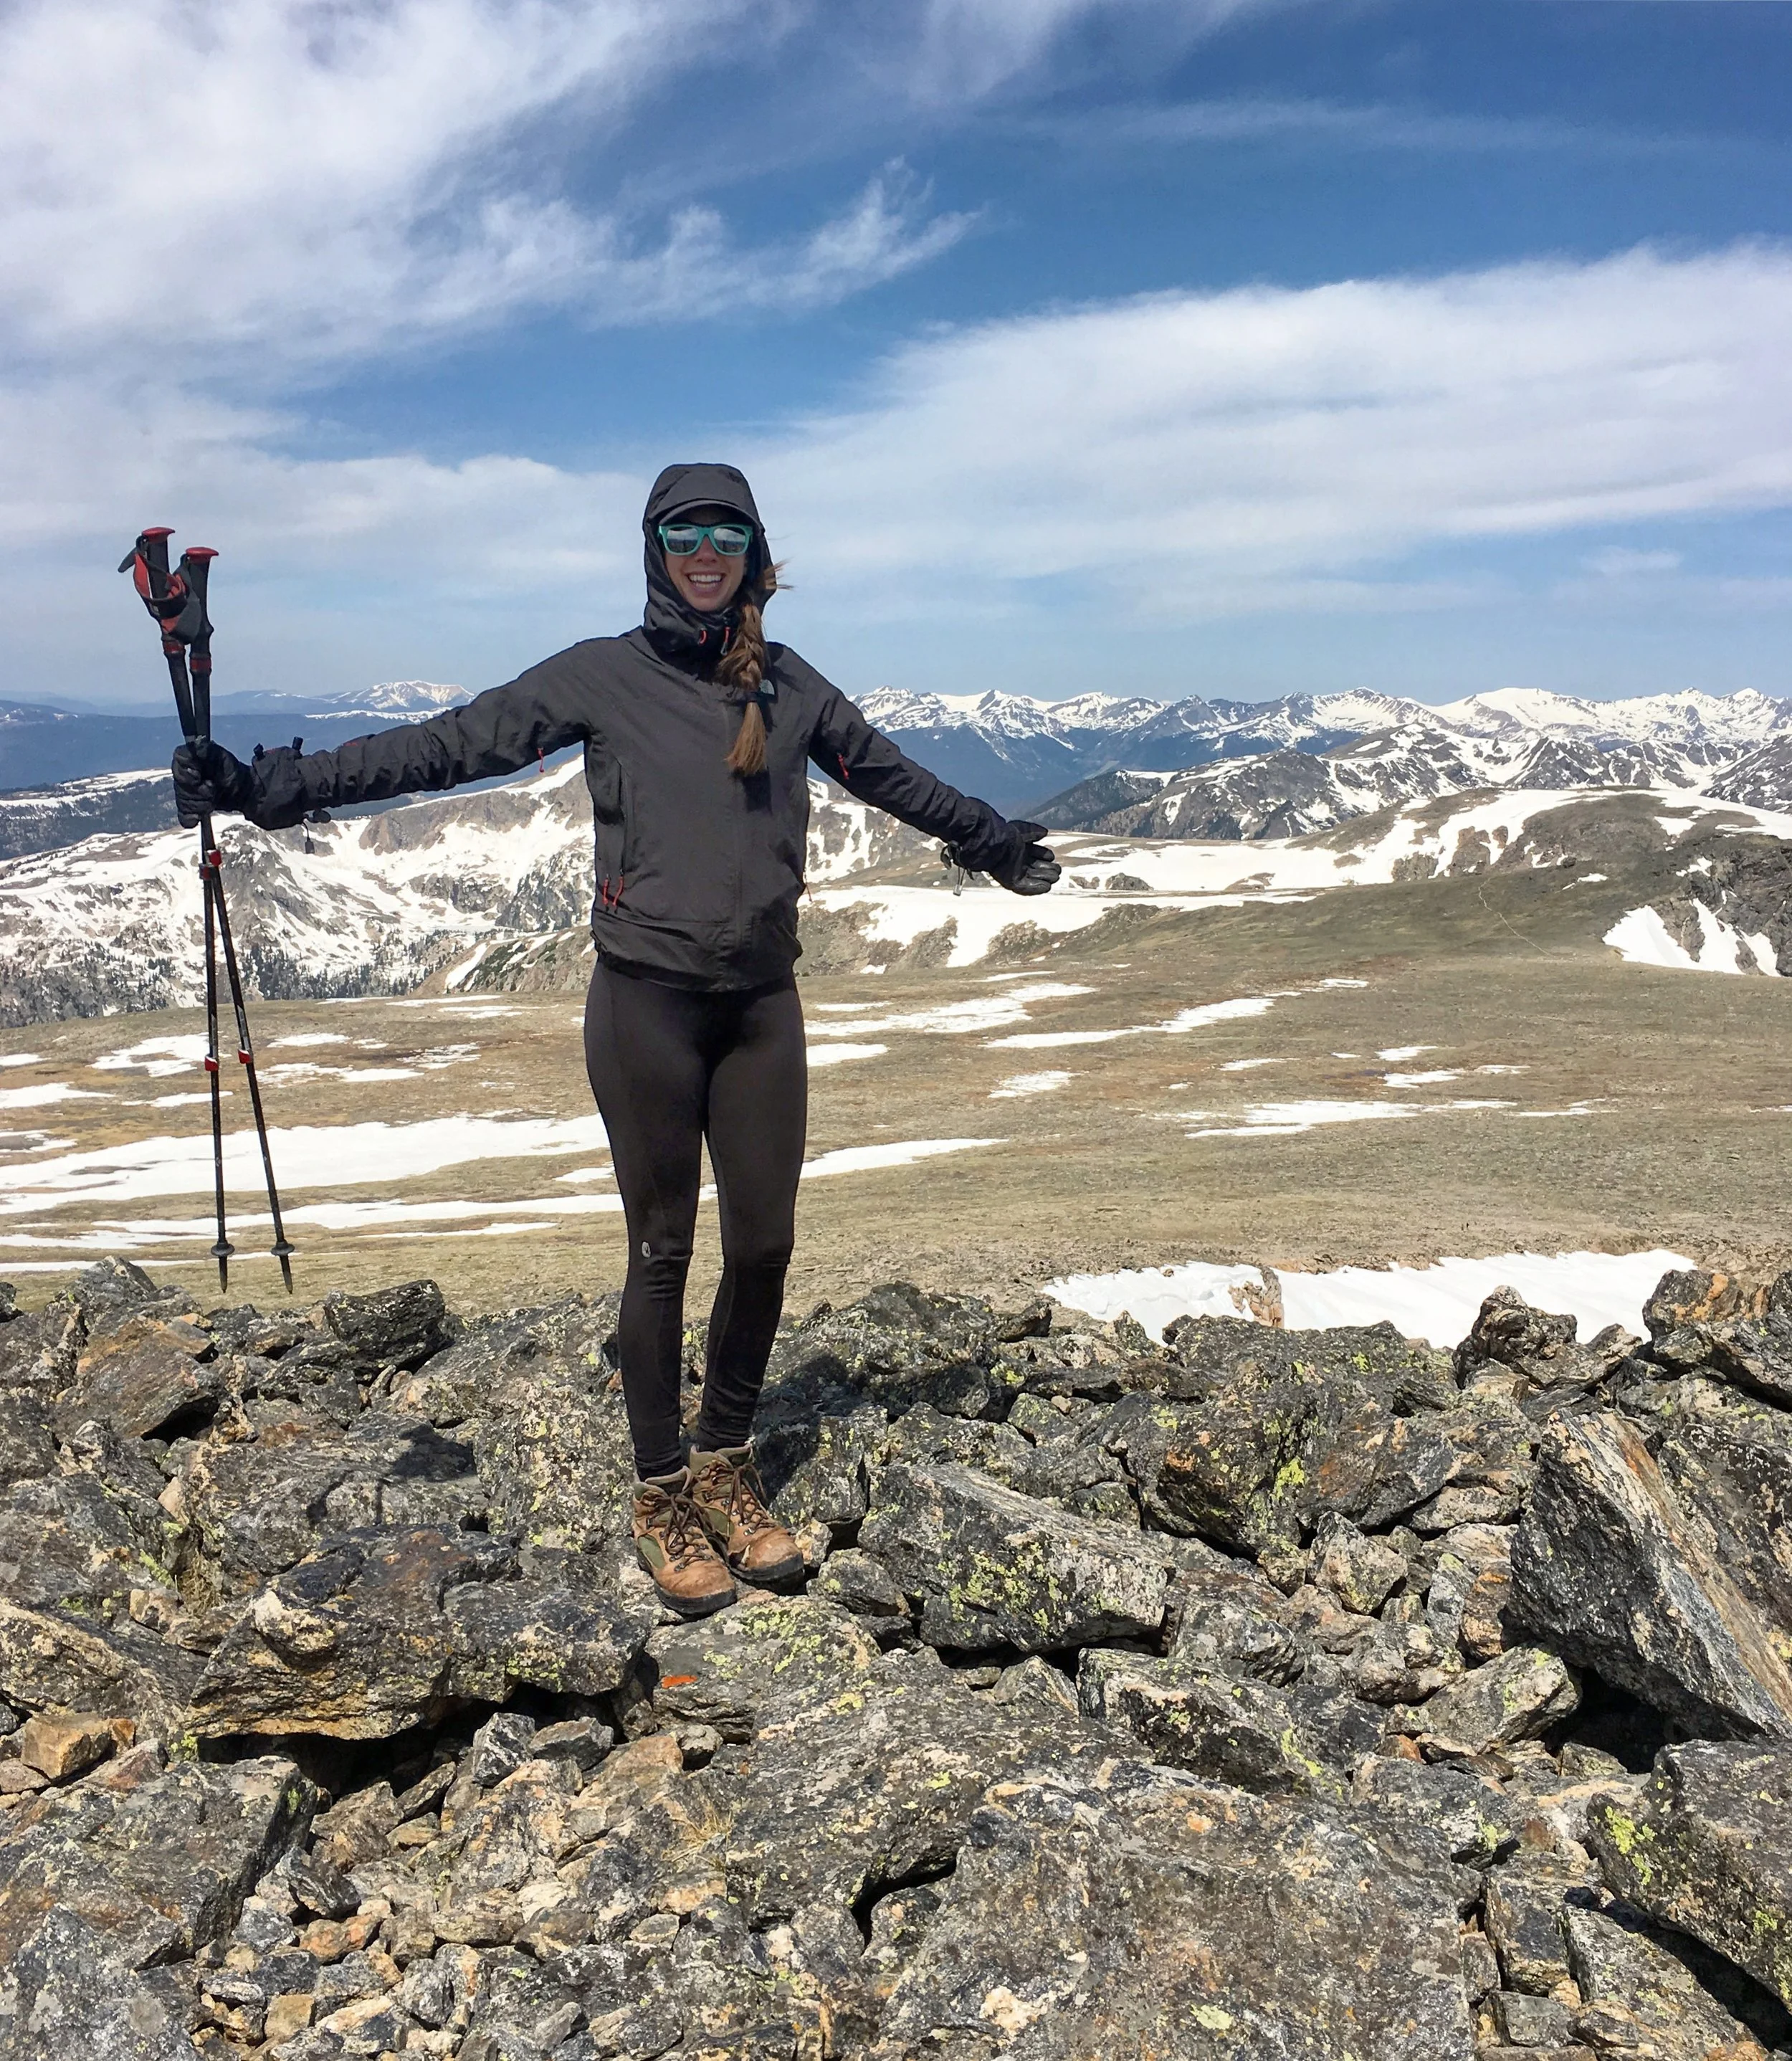
Thankfully, we woke up to sunshine and blue skies on day two. We used the morning sunshine to finish drying out our gear, then packed up and headed up Buchanan Pass. It’s a relatively steep climb, but the trail is solid the whole way. The views at the top are simply unreal: a clear view of the Front Range to the east, a great view of Granby to the west, and stunning views of various peaks to the south. Get your camera ready!
Headed up Buchanan Pass.
Breathtaking views of Indian Peaks Wilderness. Our destination for the day is somewhere way out there!
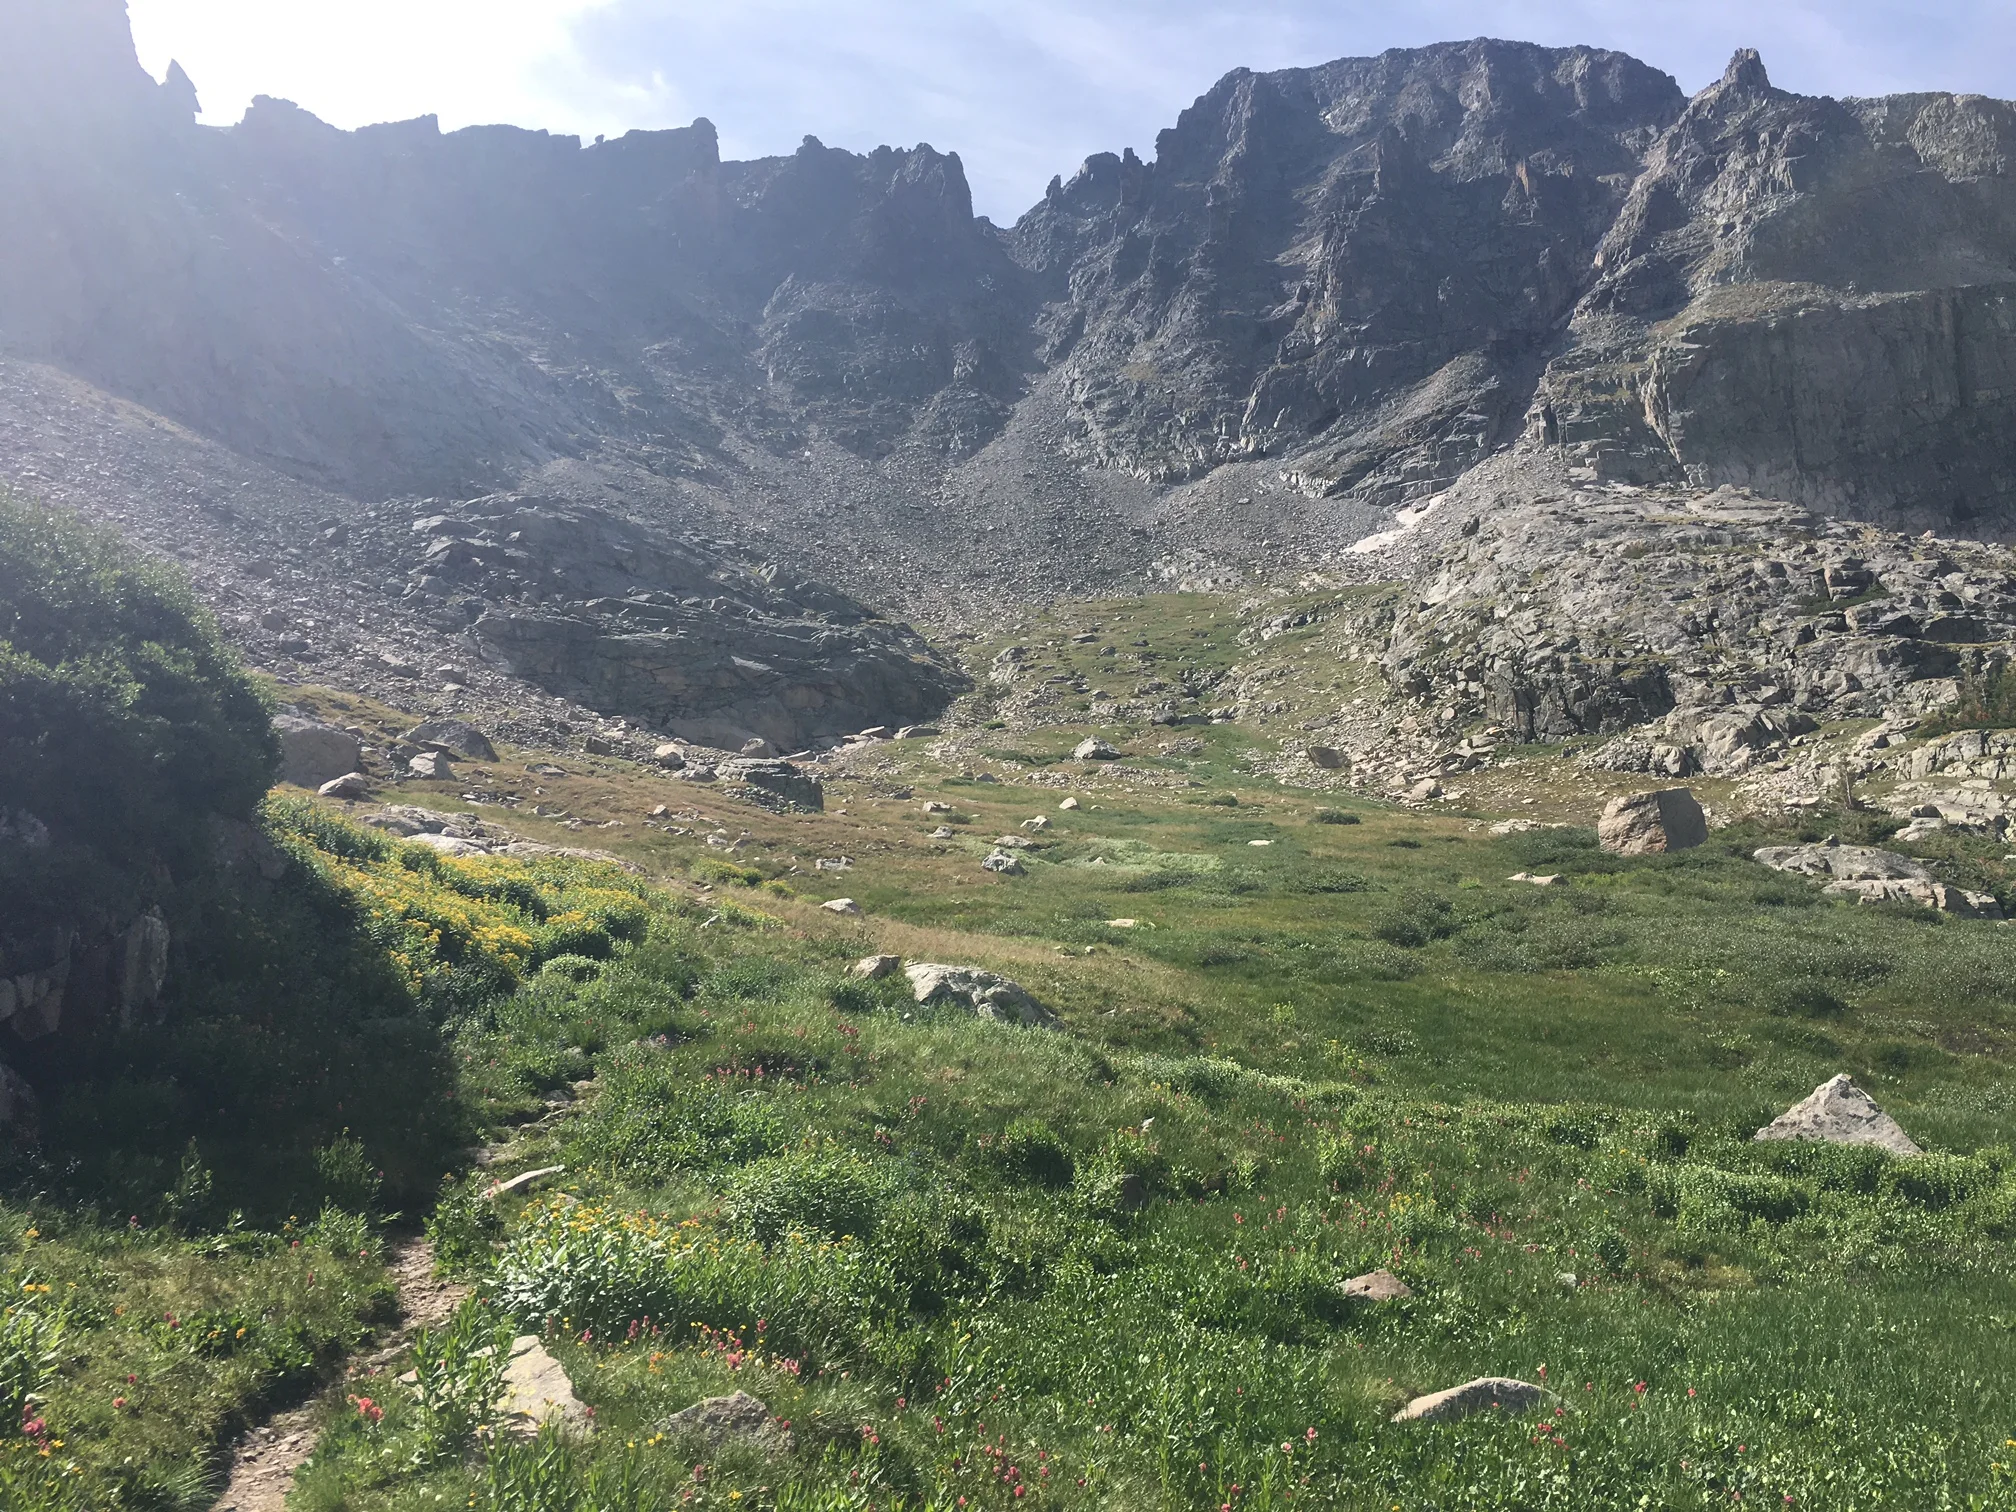
The descent back down below treeline has some steep parts but is mostly nice and gradual. Once you descend below treeline a ways, you’ll come to a wide open meadow (on your right) with stunning peak views all around. This area, known as Fox Park, reportedly has some amazing areas to camp. As always, make sure to follow Leave No Trace principles and camp a minimum of 100 feet from water and the trail; when possible, camp on already disturbed areas (where others have clearly camped before) and/or on durable surfaces. Camping in the trees minimizes risk of lightning strike during storms.
Fox Park.
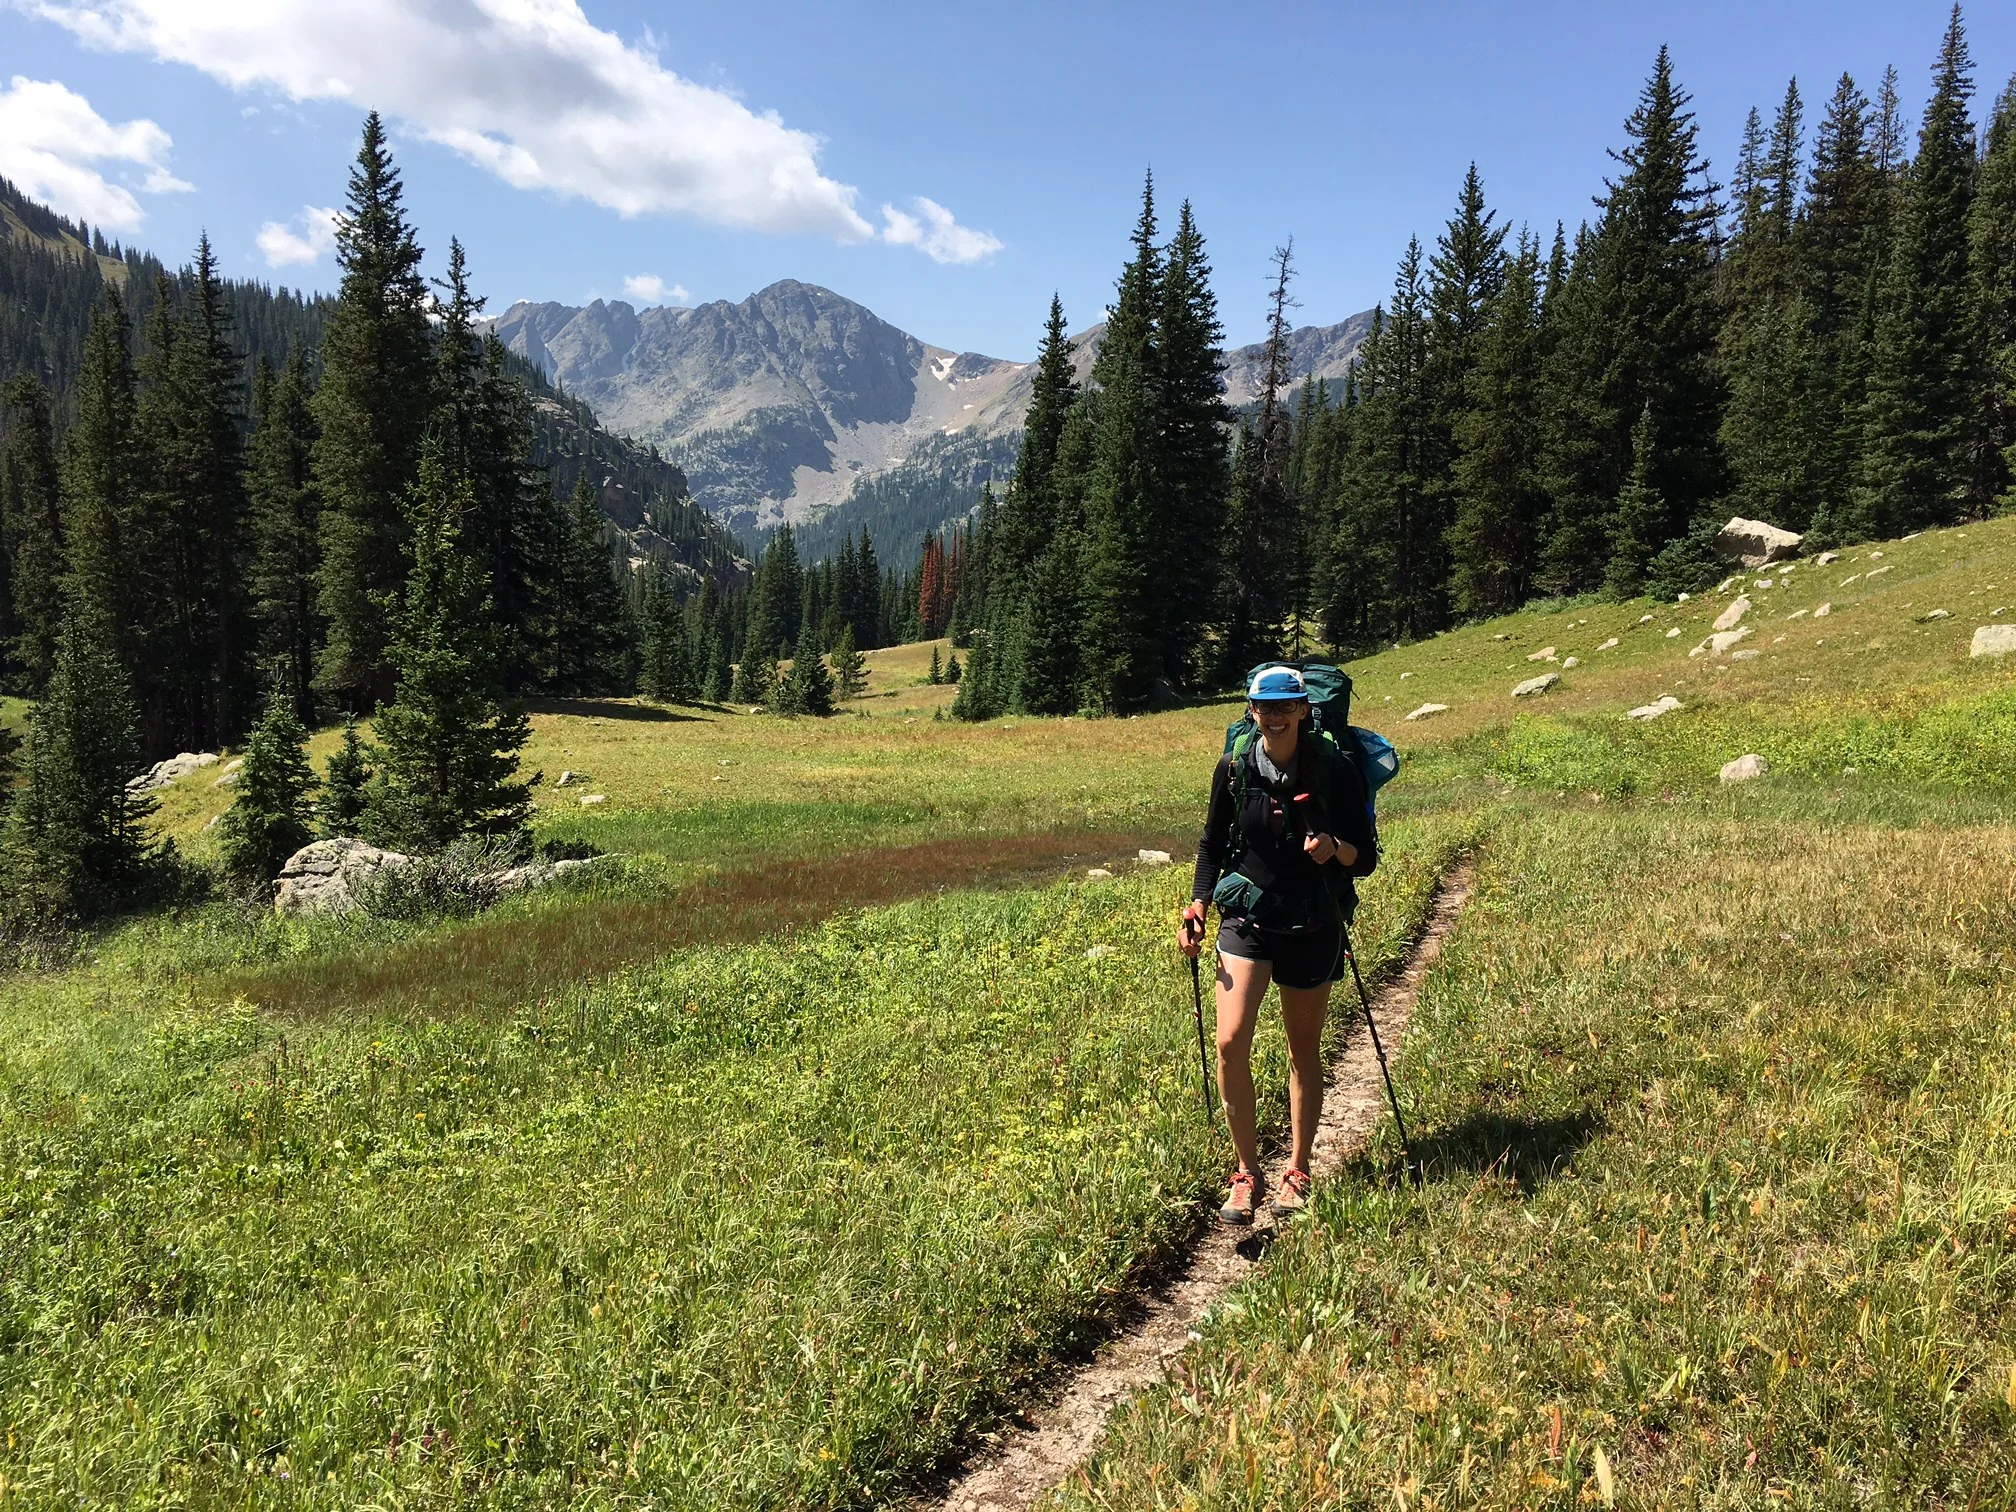
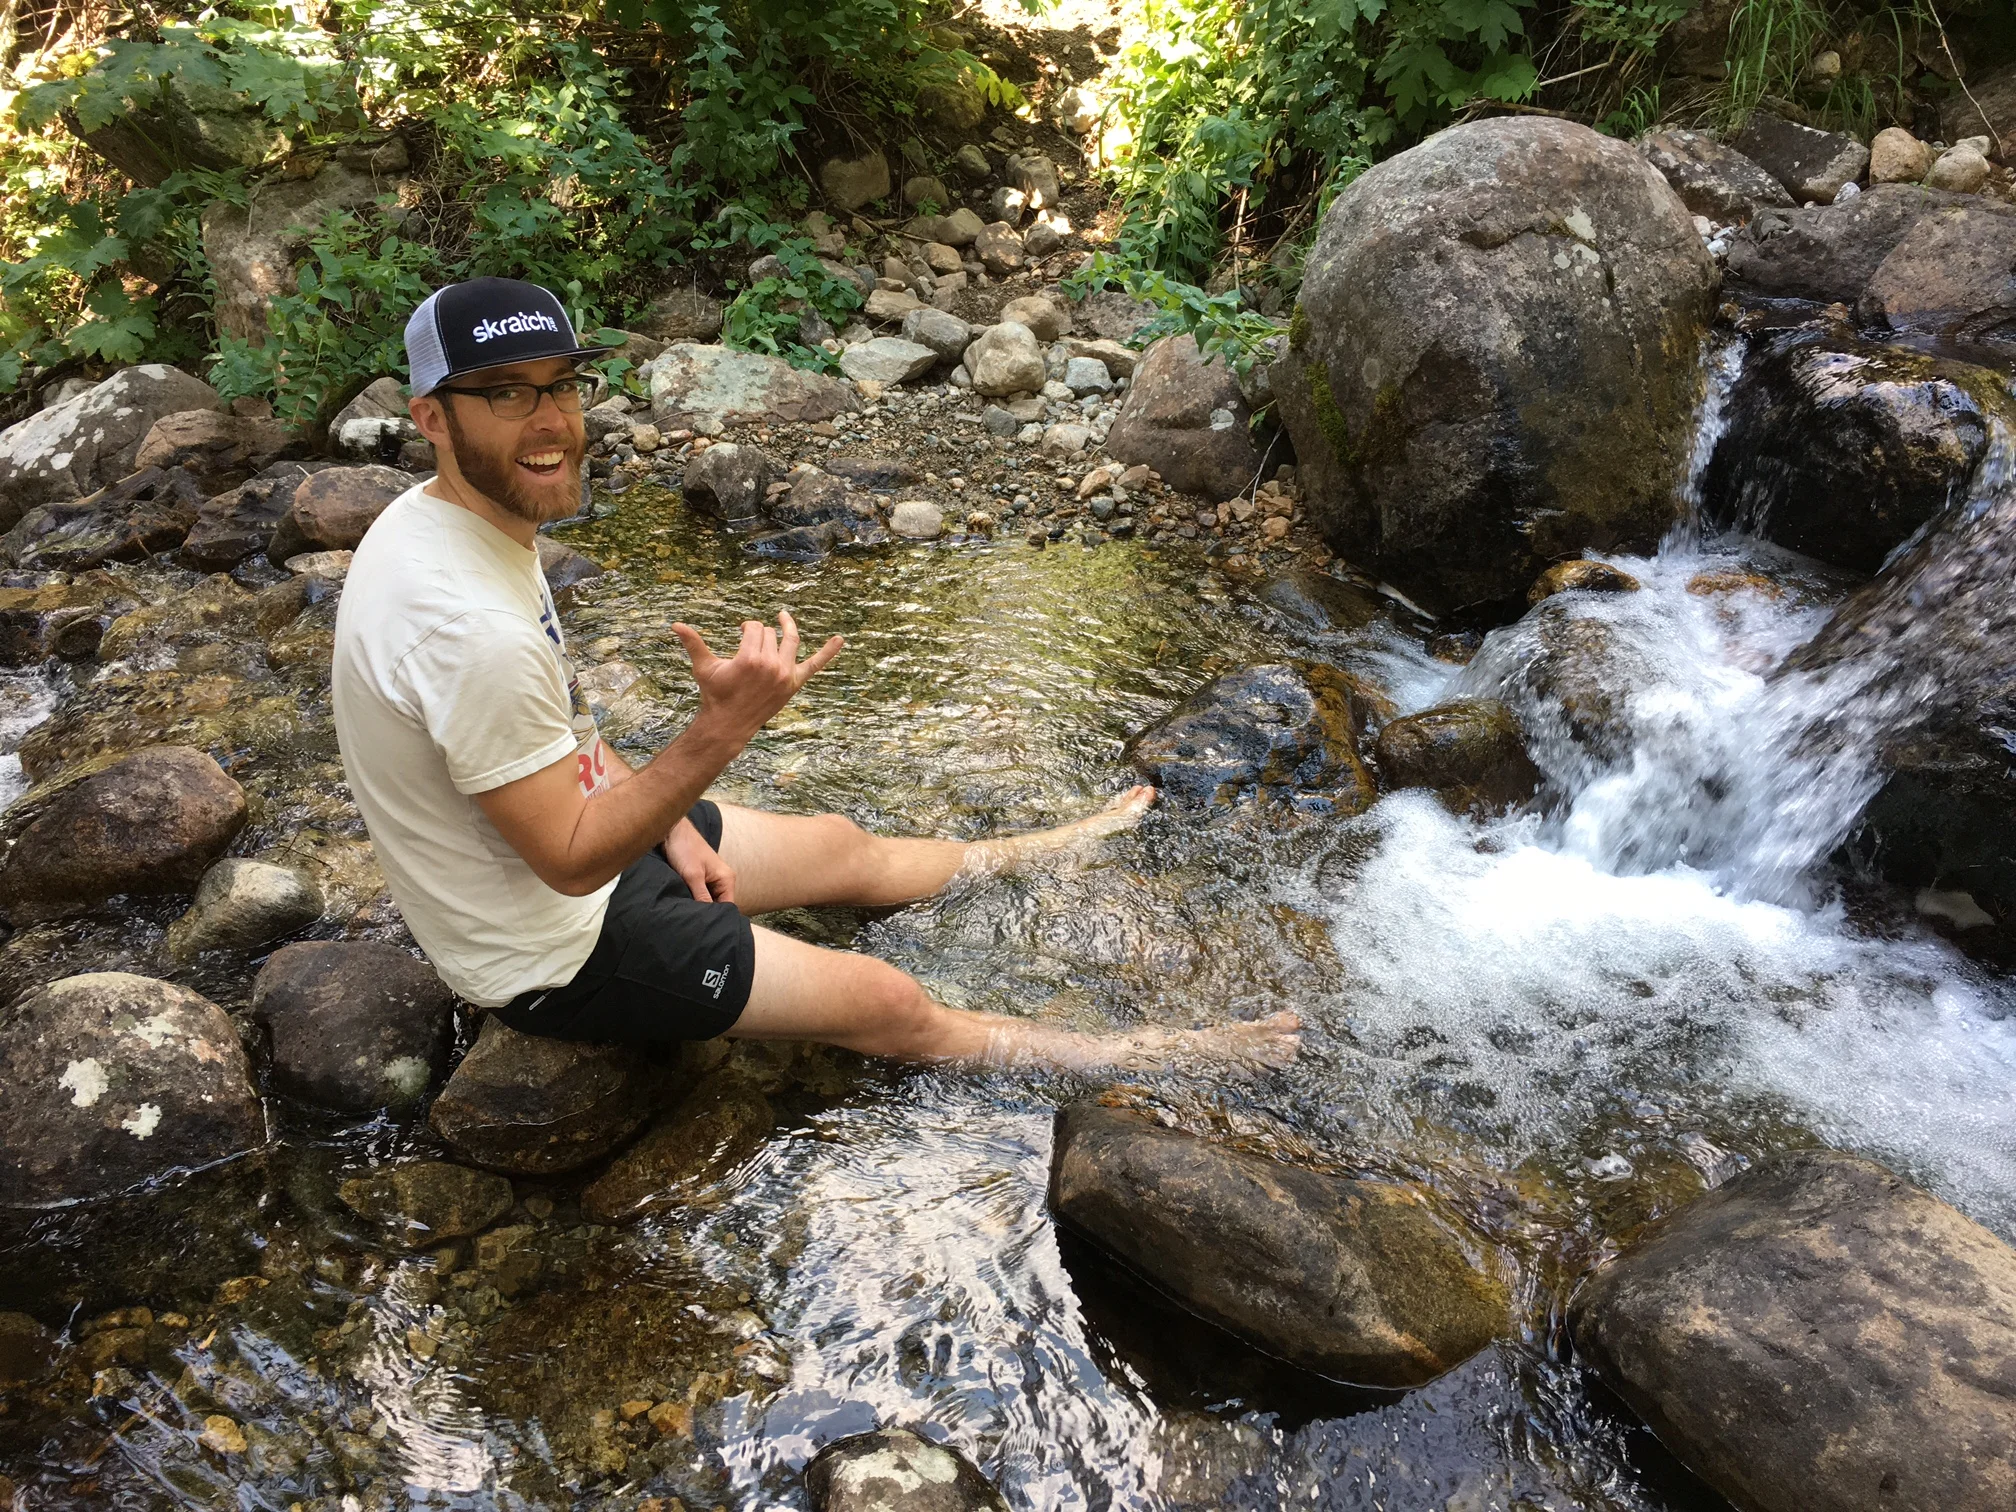
From Fox Park, get ready for a long, gradual downhill through lush, lovely forests. The trail follows a river for the remainder of the day, so no need to worry about running out of water (or running out of places to take a refreshing dip!).
The best way to rejuvinate your legs on the trail!
Pro tip: as you begin to descend through aspen groves, be on the lookout for raspberry bushes lining the trail. At the right time of year, these are in abundant supply!
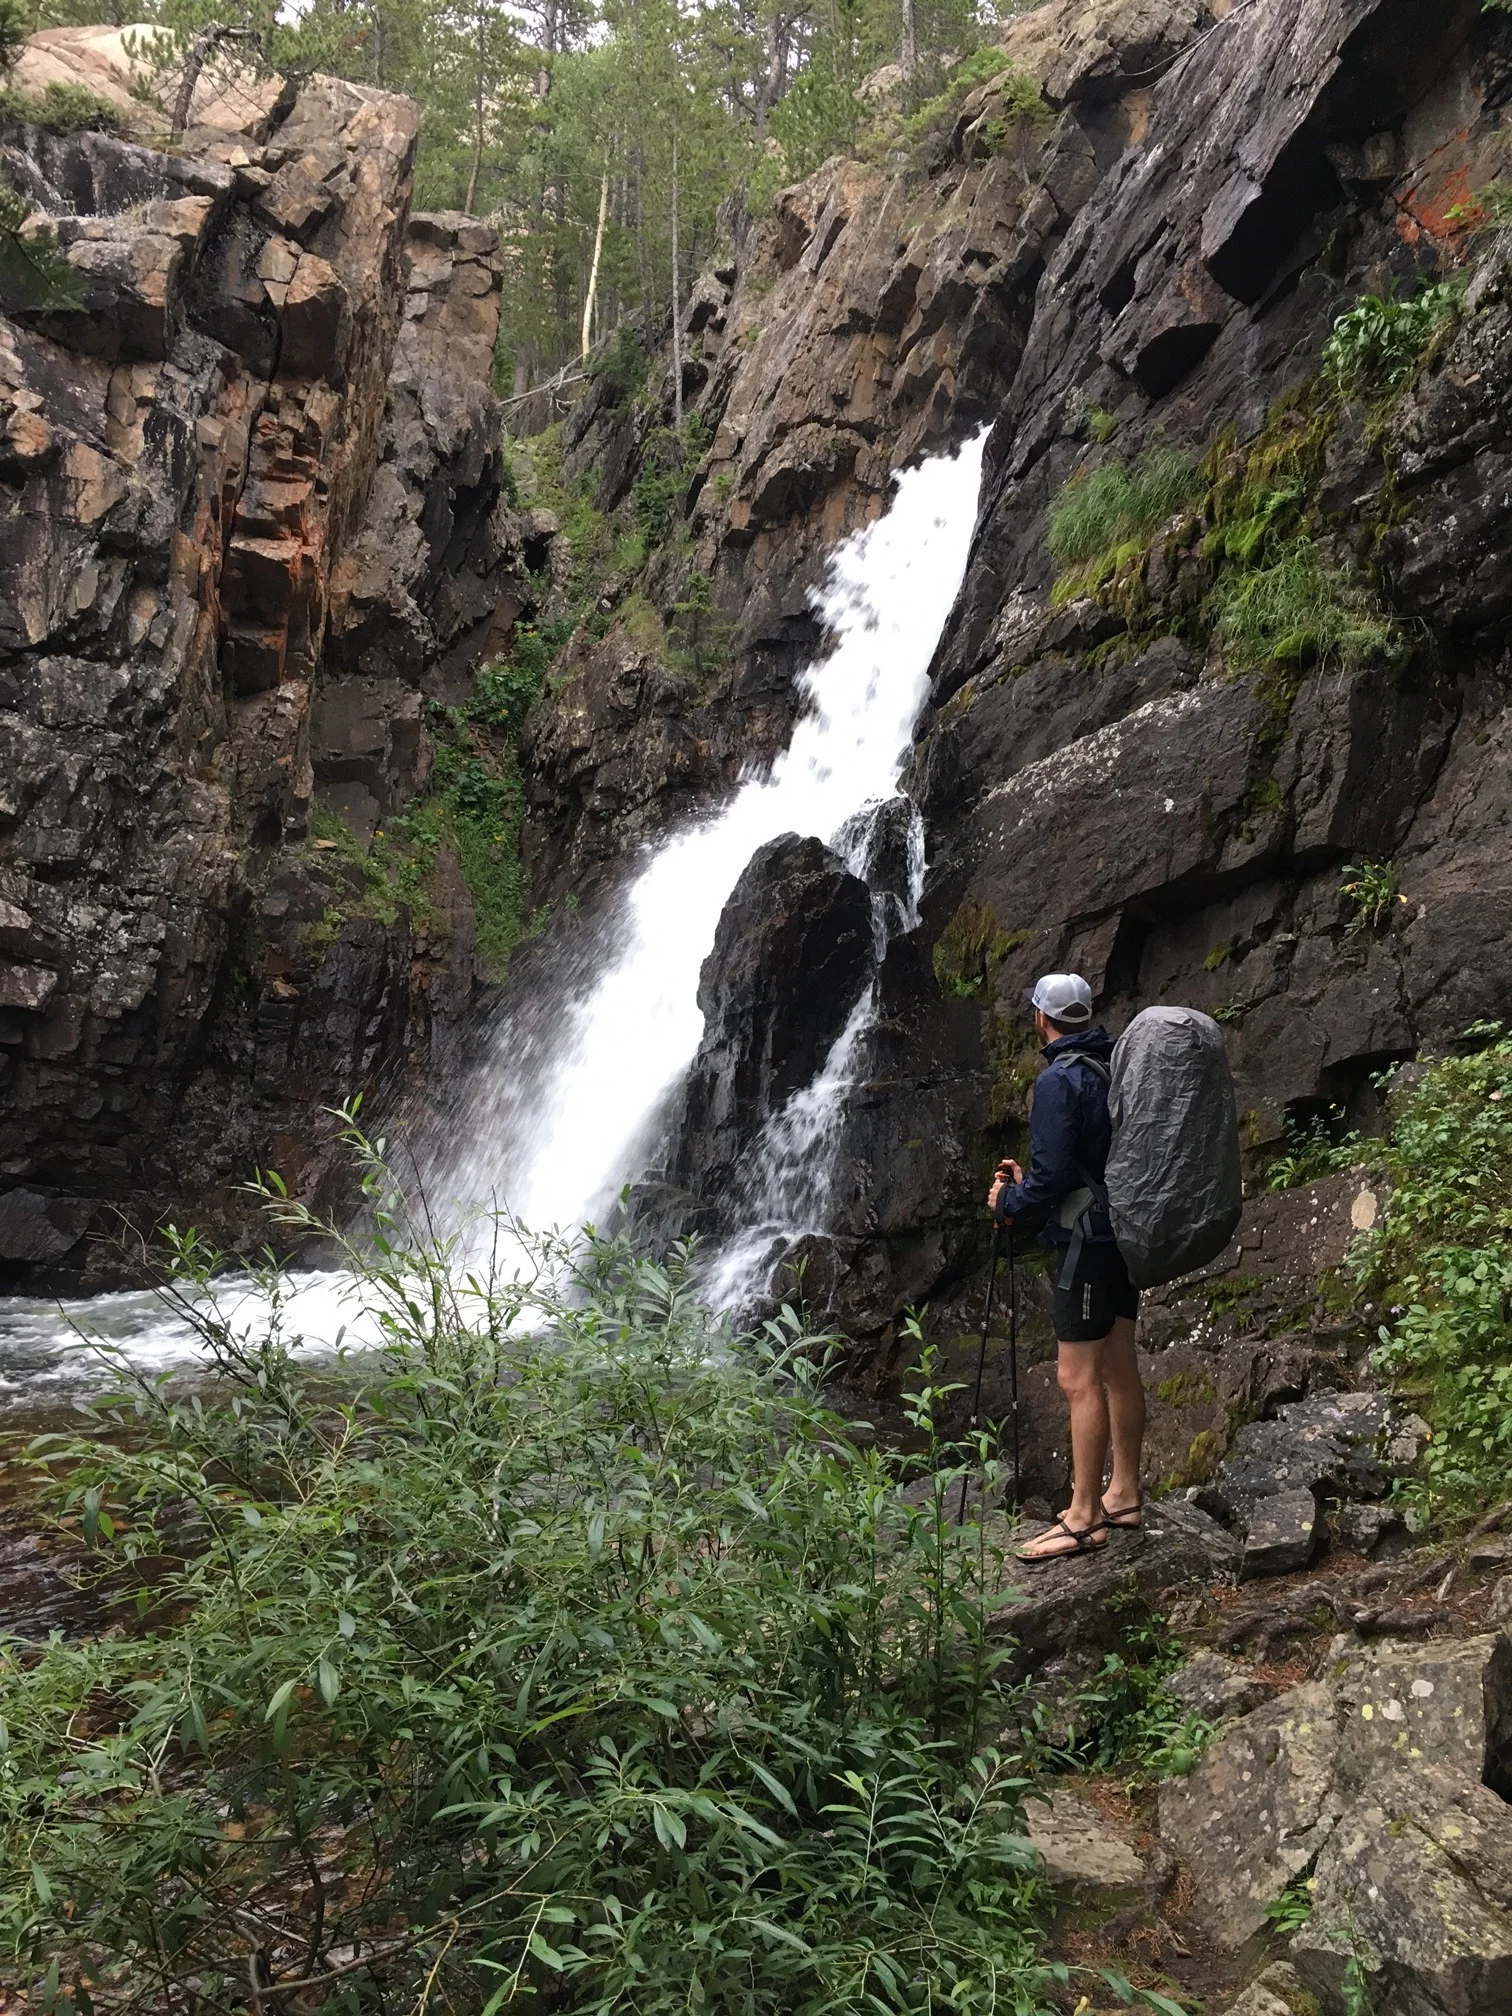
After miles of downhill, you’ll finally hit a three-way junction. Take the Cascade Creek Trail (headed southeast), and get ready to enjoy plenty of waterfalls and fun river crossings! If you have a permit to camp in the Cascade Creek BZ, there are plenty of campsites off this trail - the further up you go, the better they seemed to get.
Plenty of waterfalls along the Cascade Creek Trail!
When the trail views are this good, you know you're headed somewhere amazing.
After 2.7 miles of hiking from the junction, you will arrive at the side trail to Crater Lake. Even if you don’t have a permit to camp here, it’s well worth the extra 2.2 mile round-trip excursion - don’t miss it!
At Crater Lake, you’ll find breathtaking views of the famous Lone Eagle Peak, which absolutely lives up to all the hype. Enjoy lunch here, or if you’re lucky enough to have a permit to camp at Crater Lake, try to score site #11, #10, or #7 - the views of the peak from them are unparalleled. Once again, make sure to follow Leave No Trace principles and pack out all of your trash. This area is very popular during the summer, so make sure to leave it just as clean (or even better: cleaner!) as when you arrived.
We camped at site #7, and the views were unbeatable. Just watch out for moose - all of the water in this area makes it likely you’ll see one, especially around dawn or dusk.
Lone Eagle Peak campsite views. Does it get any better than this?! I think not.
Day Three
As I mentioned before, we experienced freak Colorado weather during our trip, and woke up to pouring rain at 5:30 am on day three. This set our plans back a bit, so the day didn’t go quite as expected, but in the end it turned out to be a fabulous day with some of the best views of the whole trip.
If you camped at Crater Lake, hike the 1.1 miles back down to the junction, and begin to head uphill towards Pawnee Pass. Get ready for incredible views and a butt-kicking amount of elevation gain on this 2.4 mile section to the pass!
Unbeatable views of Lone Eagle Peak en route to Pawnee Lake and Pawnee Pass.
You’ll pass Pawnee Lake to your right (there are a few good campsites in this area if you have a permit for the Cascade Creek BZ), and enjoy dramatic peak views all around you. The last push up the pass is steep and challenging, but the footing is surprisingly good (even though it’s mostly on rocks). Even with a heavy pack on, I felt very stable going up this section.
Headed up Pawnee Pass: it's all uphill from here!
The views looking out towards Granby make the quick elevation gain all worth it.
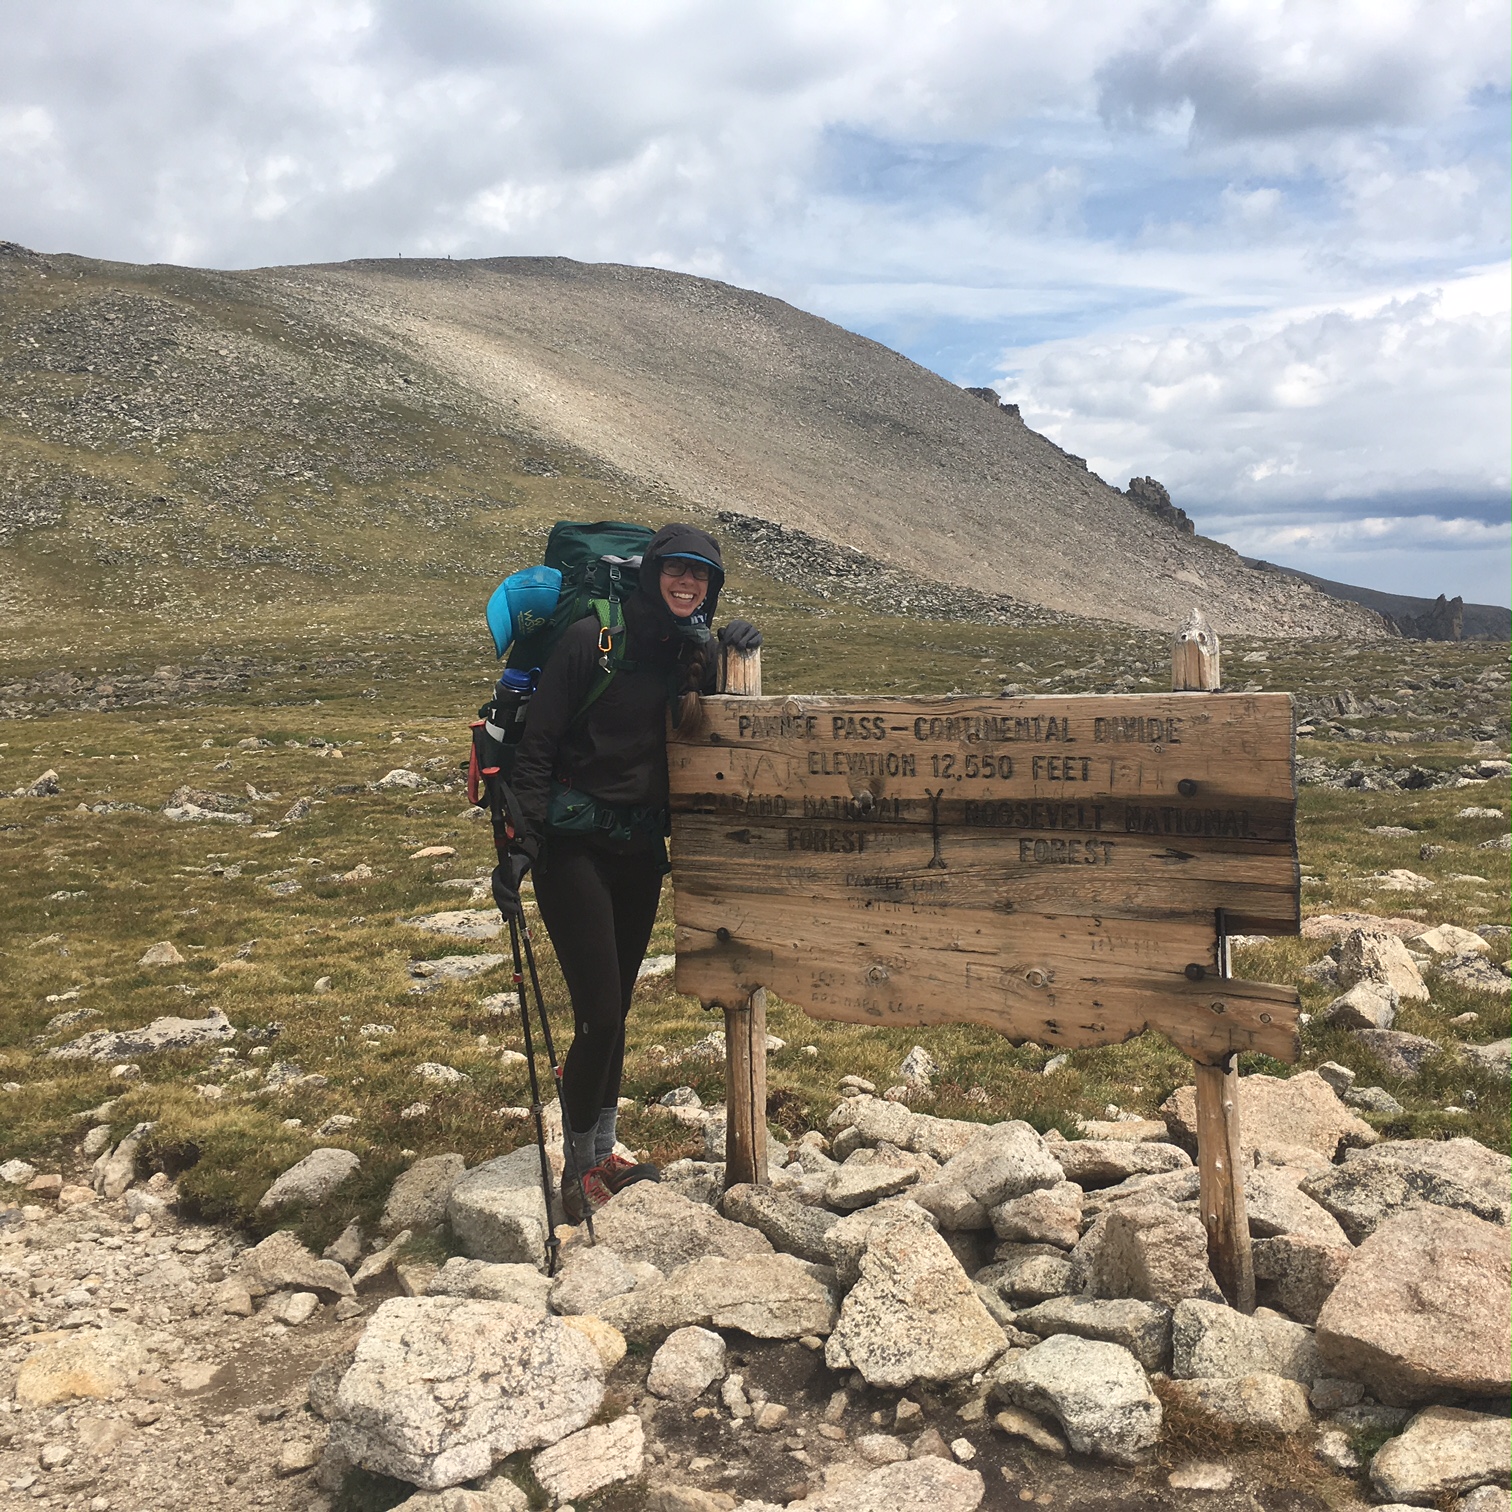
As you finally crest the pass, you’ll see a large sign marking the divide - congratulations! It’s all downhill from this point forward.
That said, if you have the time, feel good, and the weather looks clear (no dark clouds nearby), you can easily drop your pack and head up the .5 mile class 1/2 trail (with ~400 feet of gain) to the summit of Pawnee Peak, to the north of the pass. We saw several people on the summit, and as much as we wanted to join them, the morning storm had set us back an hour and the clouds were already starting to darken again, so we played it safe and decided “next time.”
Pawnee Pass with Pawnee Peak in the background.
From the pass, it’s a little over five miles back to the trailhead, filled with nothing but stunning mountain views and gorgeous lakes. The first lake you’ll encounter on the way down is Lake Isabelle - well worth stopping at to enjoy a snack break. The second lake you’ll pass by is Long Lake; moose can often be spotted here in the early morning or late evening hours.
The views at Lake Isabelle are the perfect grand finale of this trip.
Once you arrive at the Long Lake Trailhead, there’s a very nice, level dirt path off to the left that leads you right back to the Mitchell Lake Trailhead (where your car is parked). Enjoy the mellow finale of this trip!
Packing List for My Weekend Backpacking Trip:
Everyone brings a slightly different variety of gear, but I found my packing list for this weekend to be spot on. As always, check the weather before you go, as that will affect your particular packing list. That said, here’s what I brought in my 80 liter Kelty pack:
Down sleeping bag, rated to 0 degrees
Inflatable sleeping pad
Inflatable pillow
Two person tent (carried by my backpacking partner)
Rain jacket
Rain pants
Lightweight puffy coat
Approach shoes (a nice alternative to hiking boots)
Minimalist trail sandals (to wear in camp and in the water)
Jetboil + fuel
Headlamp
Bear canister (not necessary for this area as you could fashion a bear hang instead, but the perk of the bear canister is that it keeps all your food dry when it’s raining - necessary for this trip!)
Sunscreen
Brimmed hat, fleece hat, gloves, two Buffs
Thermal leggings
One pair of shorts
Two moisture-wicking t-shirts
Two zip-up fleeces, one lightweight and one heavier-duty
Two pairs of wool socks (I keep a fresh pair in my sleeping bag that is only worn for sleeping!)
Weather-resistant topo map
Whistle for emergencies
Two dehydrated backpacking meals
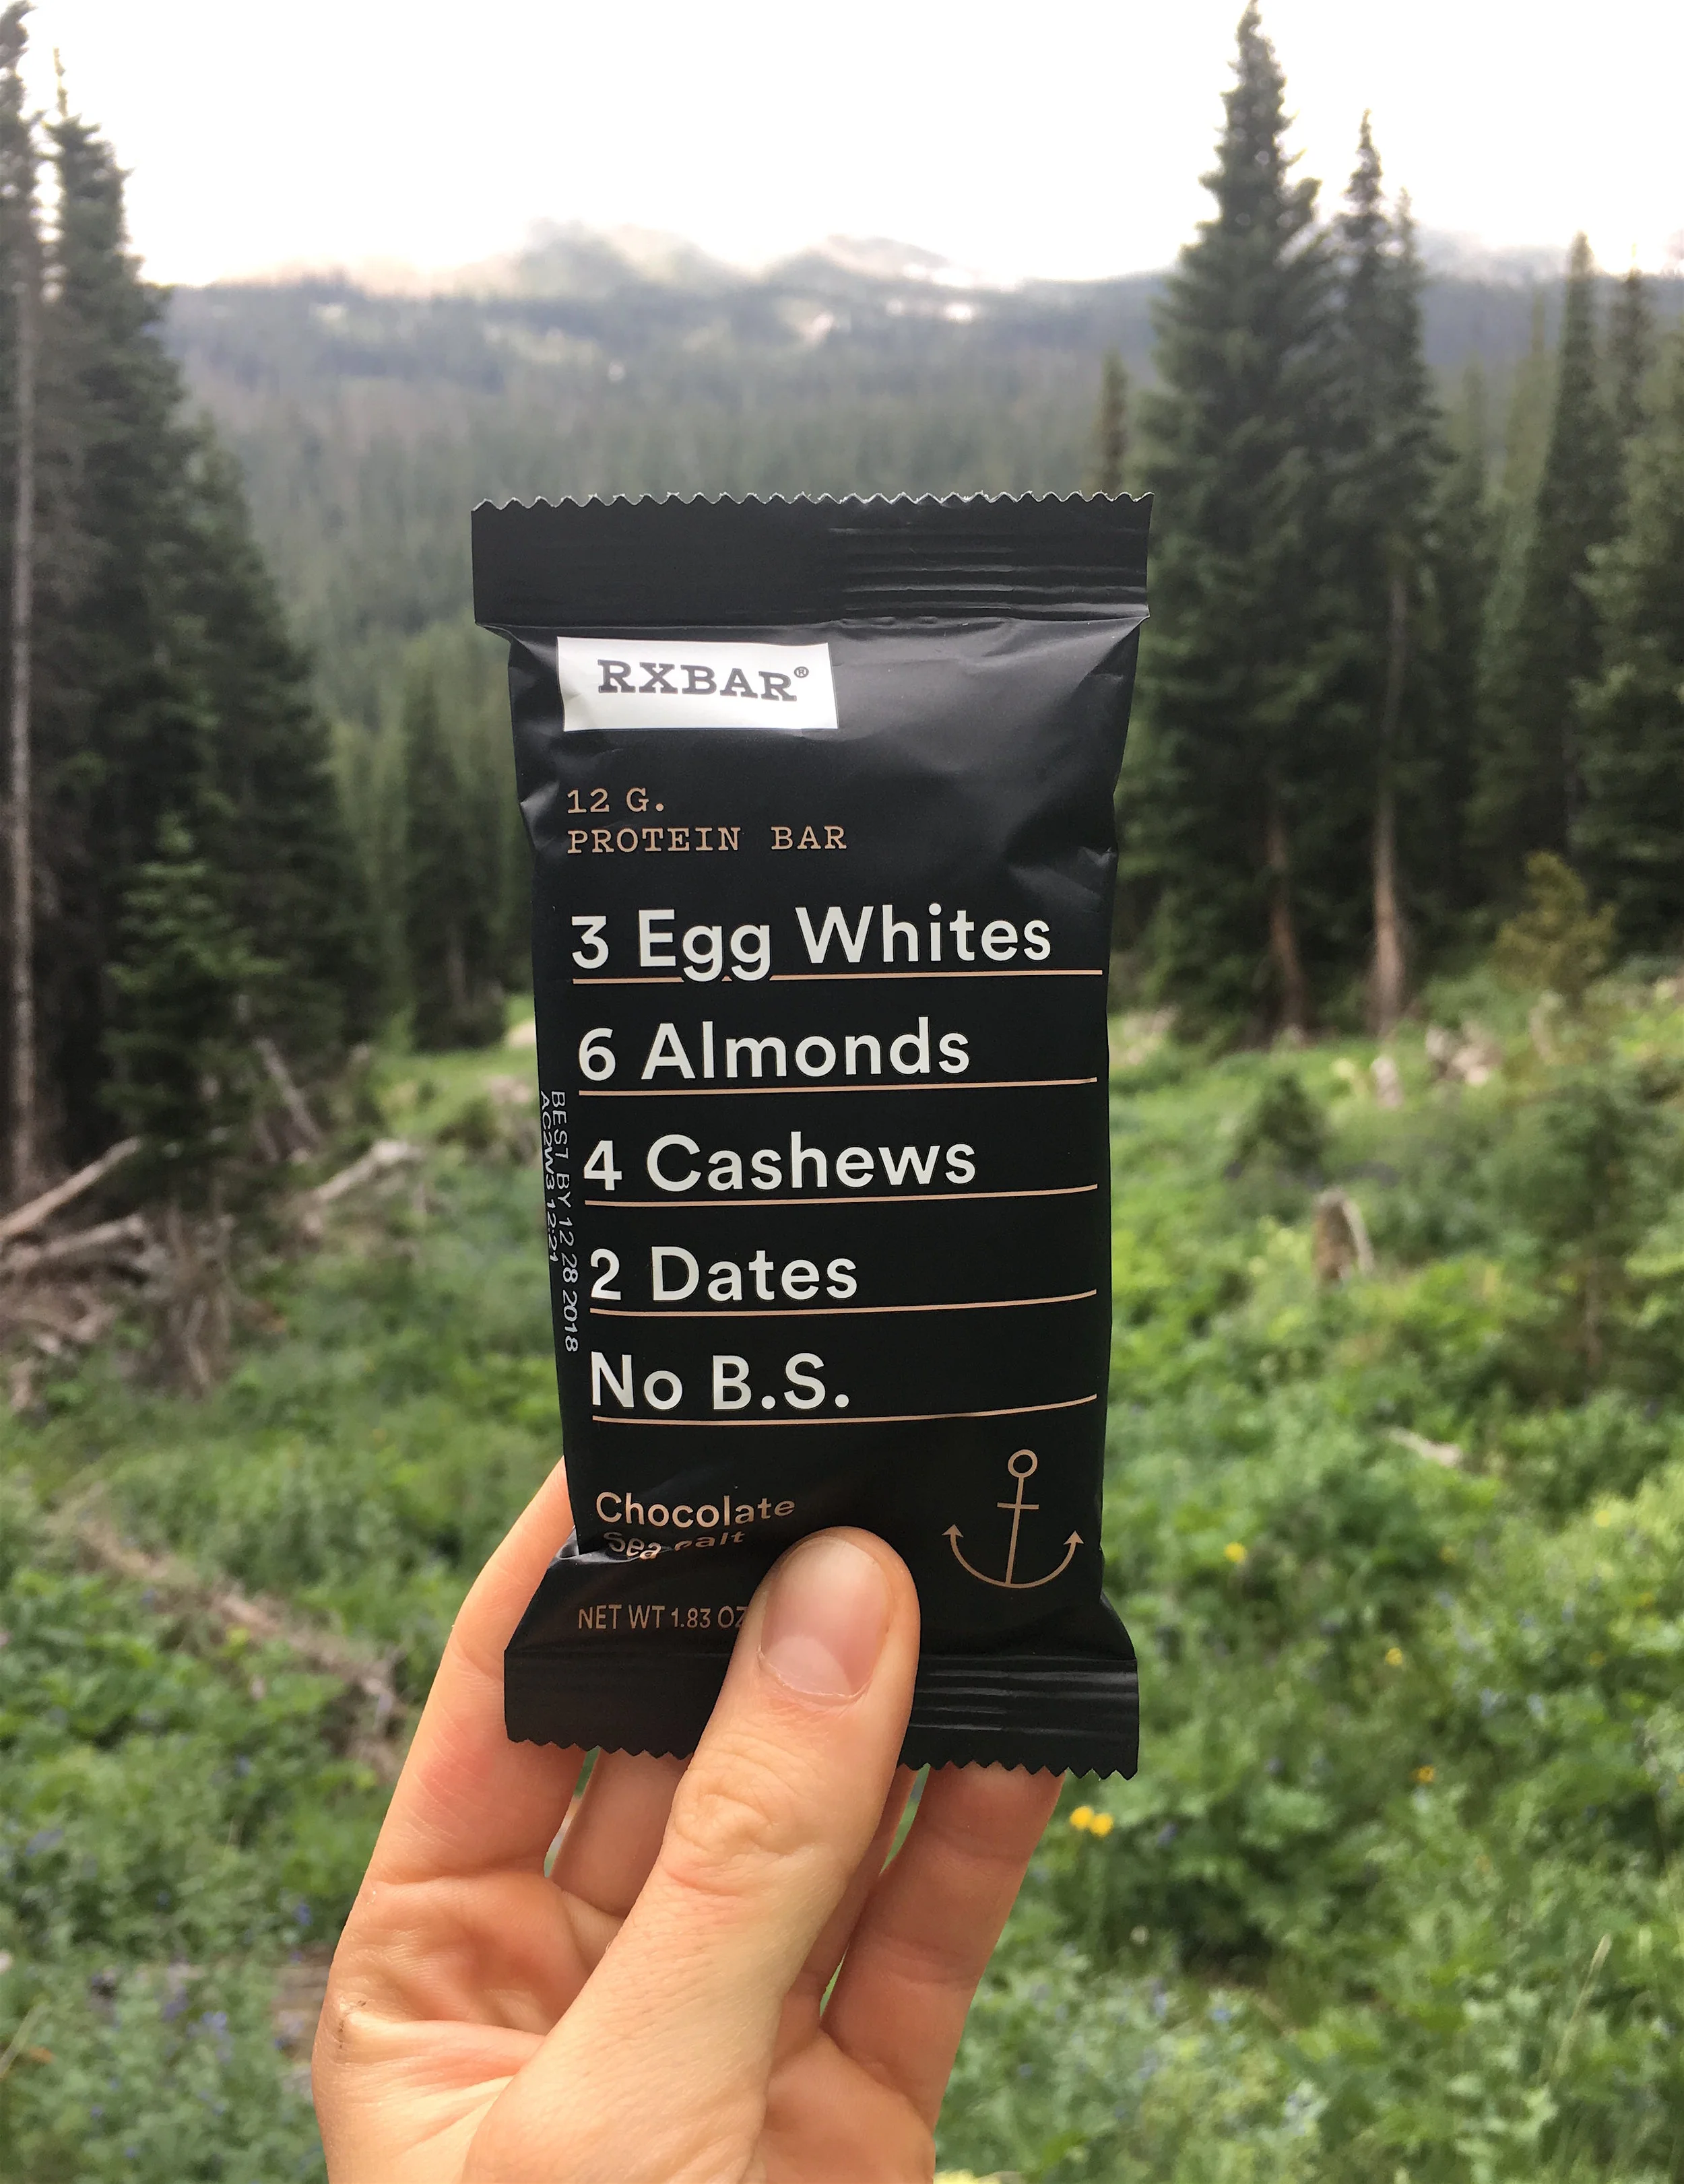
Plenty of bars (see what my favorite bars for the backcountry are here), nuts, and seeds
Portable phone charger (since most of my photos are taken on my phone)
Backpacking/camping permit (hung on outside of pack at all times and outside of tent at night)
First aid kit (a necessity for every backcountry adventure, along with the know-how to use it!)
Iodine tablets (for treating water)
No, this isn’t a yard sale - it’s what you do after the weather soaks all your gear!
A Few Extra Tips for Backpacking this Loop:
July and August are great months to do this loop, as most of the snow will be gone and the days are long. That said, if you go after September 15th, you won’t need a permit, and most of the summer crowds will be gone (but be prepared for chillier evenings!).
A significant portion of this route is above treeline. Start early in the mornings, check the weather forecast in advance of your trip, and know how to watch for approaching storm clouds. When in doubt, stay below treeline if the threat of lightning is present. Better to wait a little while for the skies to clear than to risk lightning strike.
Moose are very active all throughout the loop - know what to do when you encounter one! Do not ever approach a moose, and keep dogs leashed to keep them safe in these areas.
You must pay an $11 fee (as of 2018) or present a valid national parks pass to enter the Brainard Lake Recreation area. Parking at the Mitchell Lake Trailhead and Long Lake Trailhead fill up EARLY on weekends - be there very early to secure a spot.
Know Leave No Trace principles before you leave, and be prepared to practice them. Don’t pick wildflowers, pack out your trash, and know what to do with human waste, to name a few things.
Get ready to have a blast and enjoy one of the best backpacking loops near the Front Range of Colorado!
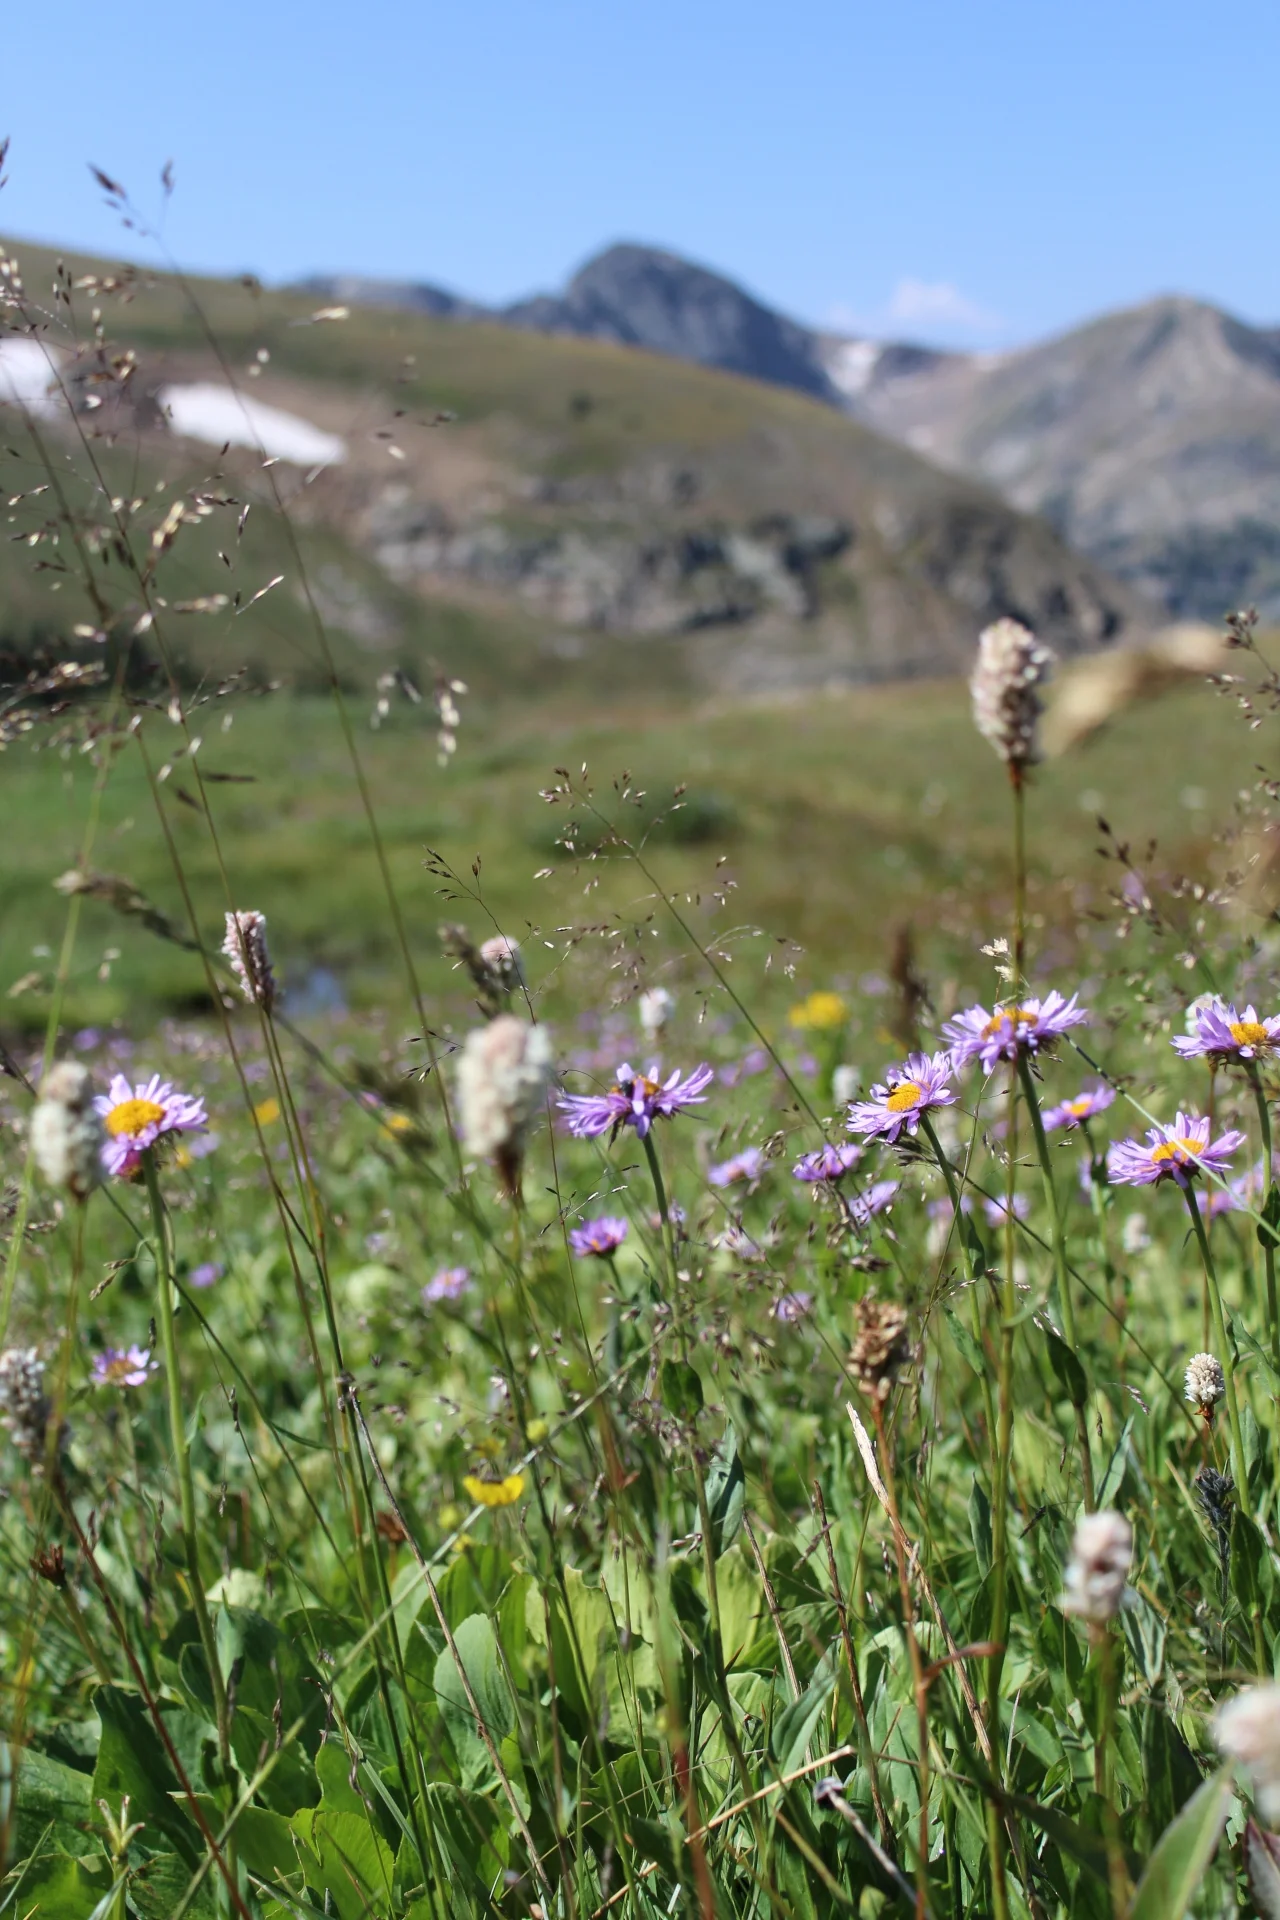
Close-up wildflower views and expansive peak vistas - the Pawnee-Buchanan Pass Loop has something for everyone.

